How to fit a dial to an NH35 movement
The dial is the first visible part to go on, and the one that's easiest to mark for good. On a Seiko NH35 (and the day-date NH36) the dial is held by two small pins on its back, called dial feet. They push into two holes in the plastic ring around the movement, the dial holding spacer, and friction holds them there. There are no screws. Most of the work is choosing the right dial before you start: the feet have to match where the crown sits in your case, and the date window has to sit over the date. After that you line it up, press it down gently and check that the date sits in the middle of the window.
- Time
- 15–30 minPlus 10 minutes if you have to take an old dial and hands off first.
- Difficulty
- EasyEasy to moderate. The fitting is simple; the risk is fingerprints, bent feet and a dial that doesn't match the movement.
- Works with
- NH35
- NH36
What you need
Parts
NH35 or NH36 movement
With its plastic dial holding spacer fitted: the ring around the movement's edge, with two small holes for the dial feet. New NH35s come with it in place.
The stem and crown, or the spare stem the movement came with
So you can turn the hand gears and check the date.
One NH35 dial, 28.5 mm across
Listed for your crown position (see step 2). Dials for skeleton movements such as the NH70 or NH72 are 30.8 mm and won't fit.
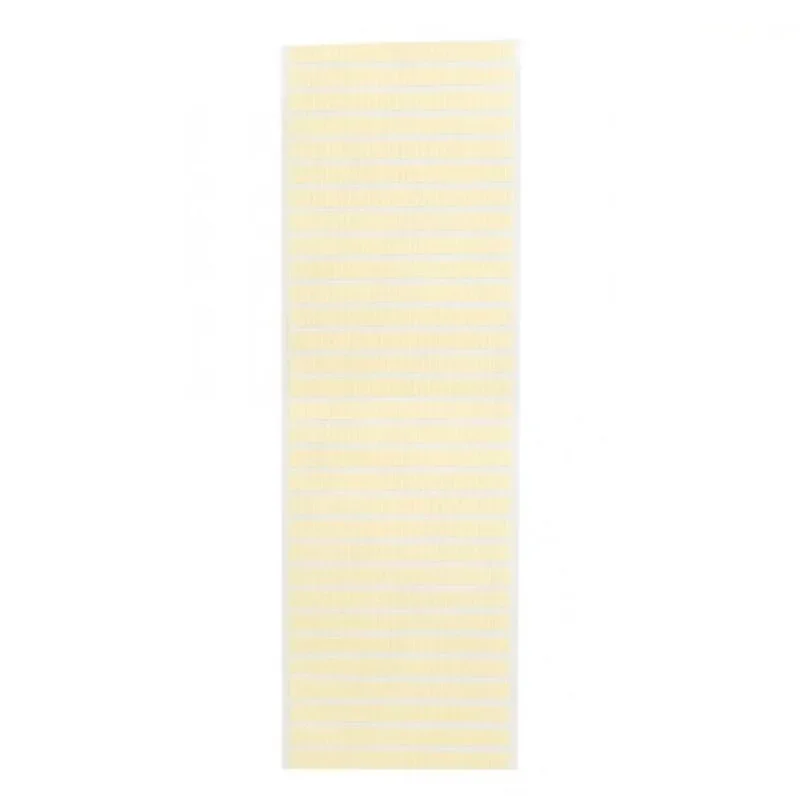
Dial dotsOptional
Only for a dial without feet: small double-sided adhesive pads made for watch dials.
Tools
- Movement holder sized for the NH35
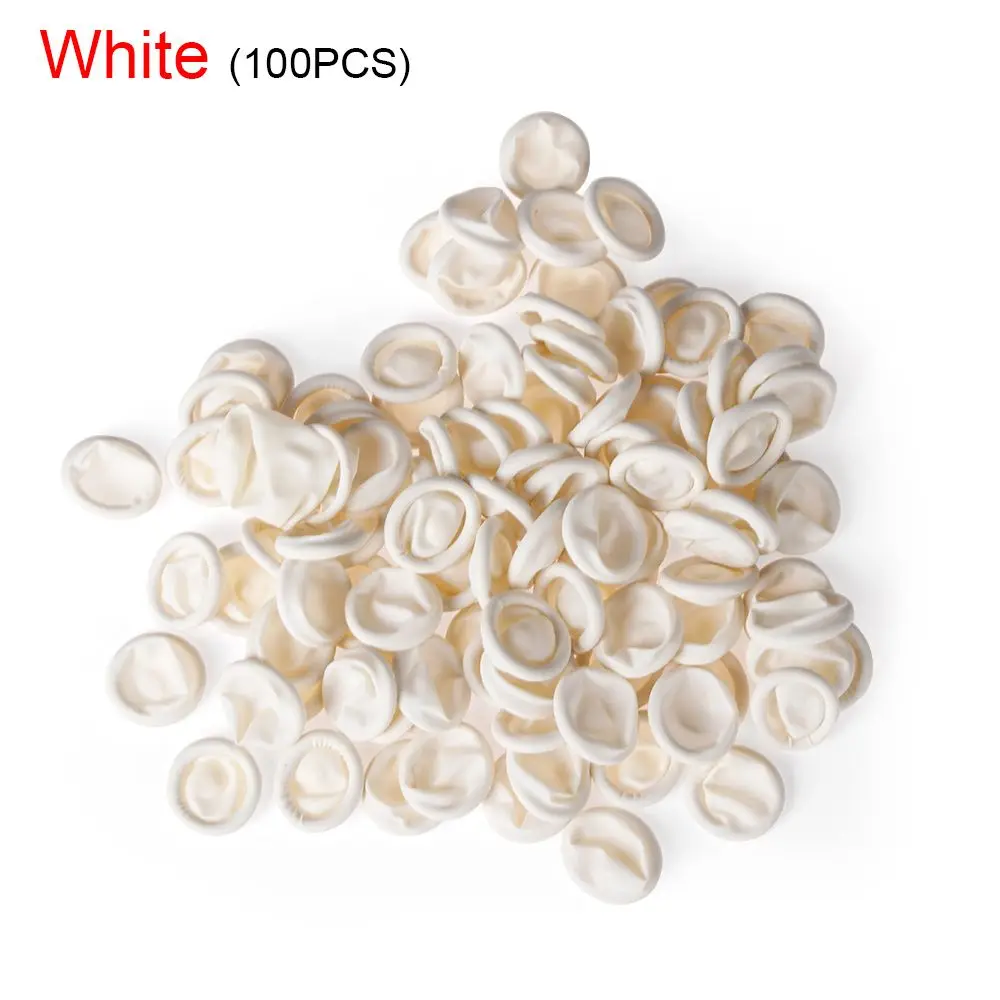
- Nitrile gloves or finger cots
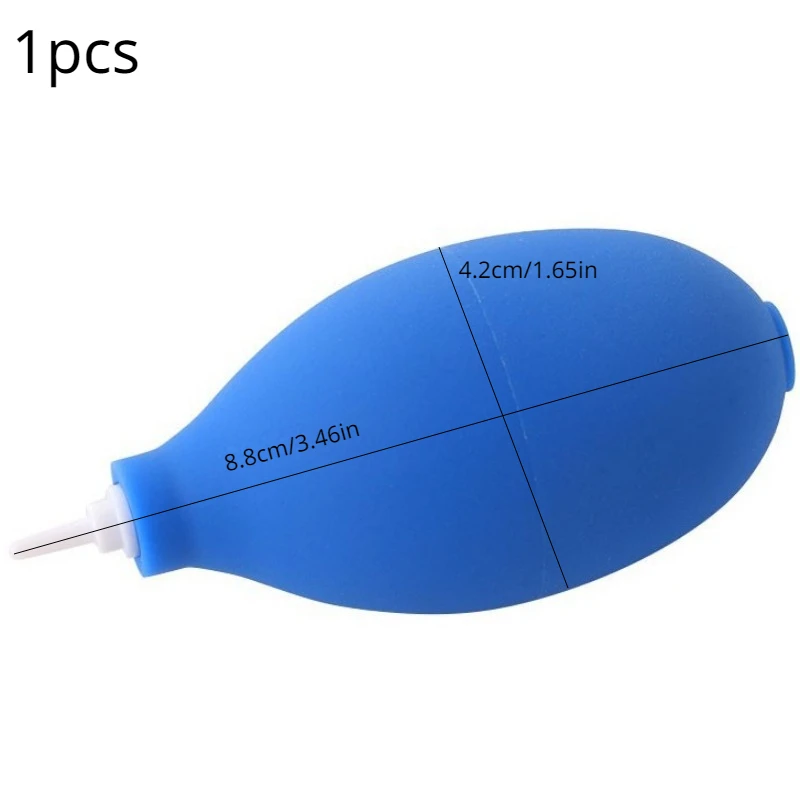
- Hand air blower (rubber bulb)
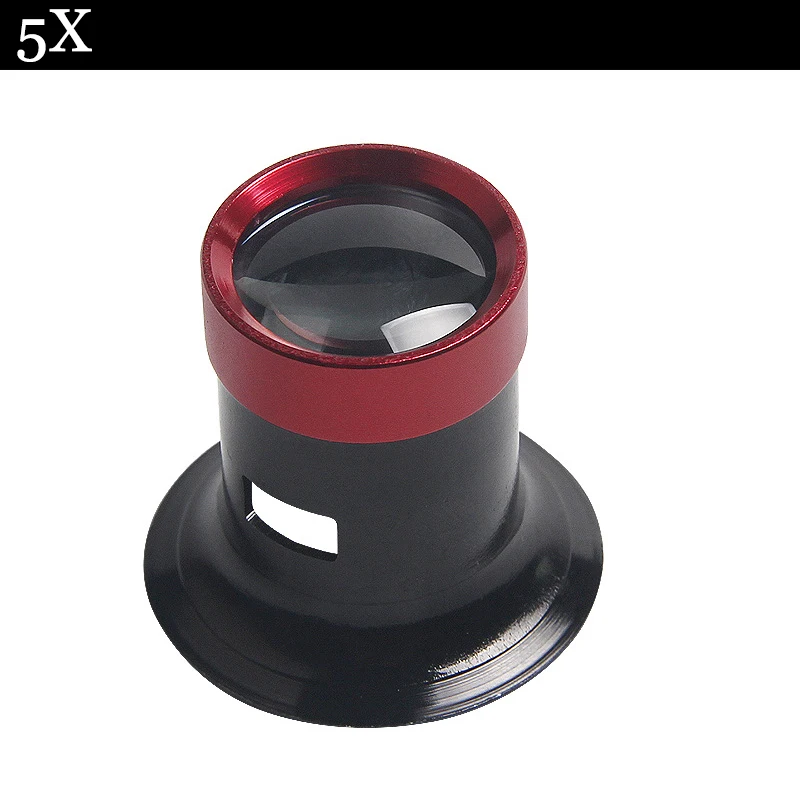
- Loupe or magnifier (3–5×) and a bright desk lamp
- A clean, lint-free cloth
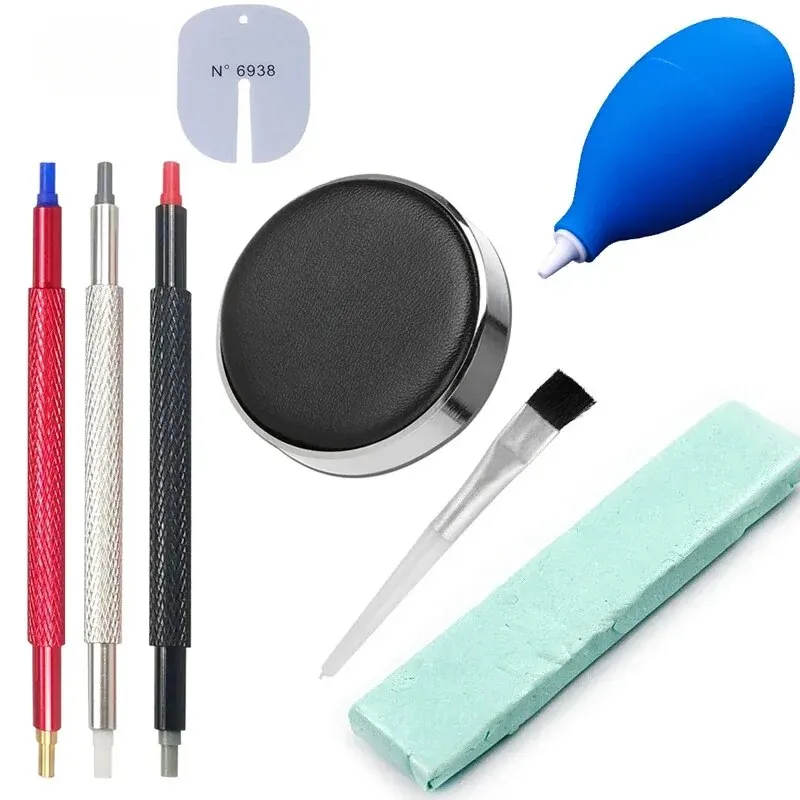
- Hand-removal levers, a dial protector and a thin plastic pry toolOptional
- Small flush cutters and a sharp craft knifeOptional
What each is for, and where to buy
Movement holder sized for the NH35
The same holder as in the hands guide.
Nitrile gloves or finger cots
A fingerprint on a printed dial often won't come off.
Hand air blower (rubber bulb)
Don't use canned air: it can spray cold propellant onto the dial.
Loupe or magnifier (3–5×) and a bright desk lamp
For checking the date window and the dial from the side.
A clean, lint-free cloth
Or a piece of the dial's own protective film, to press through.
Hand-removal levers, a dial protector and a thin plastic pry toolOptional
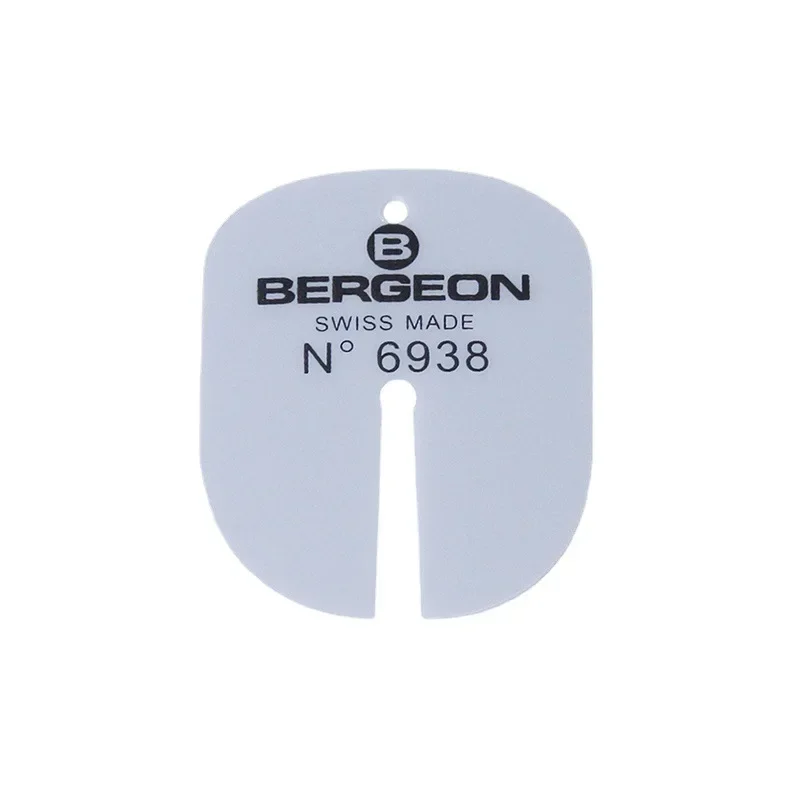
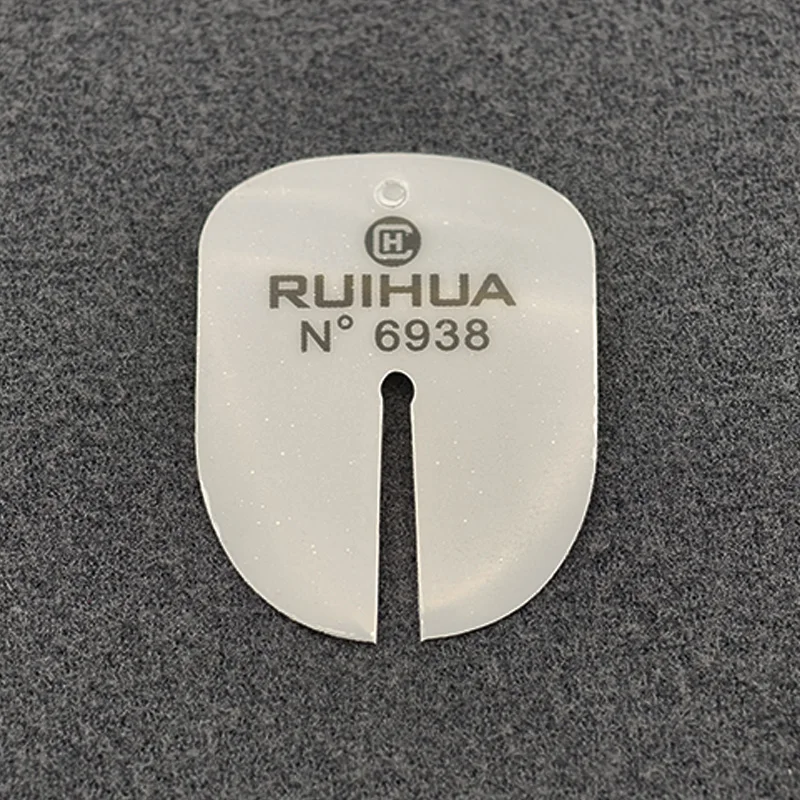
Only if the movement came with hands and a dial. The protector is a thin plastic sheet with a slot. A small flat screwdriver can stand in for the pry tool.
Small flush cutters and a sharp craft knifeOptional
Only if your dial has four feet. Flush cutters are also sold as side cutters.
Steps
The illustrations are AI drawings made to show each step, not photos. They simplify the parts, so where a drawing and the text differ, follow the text.
Step 1: Set up a clean, bright workspace
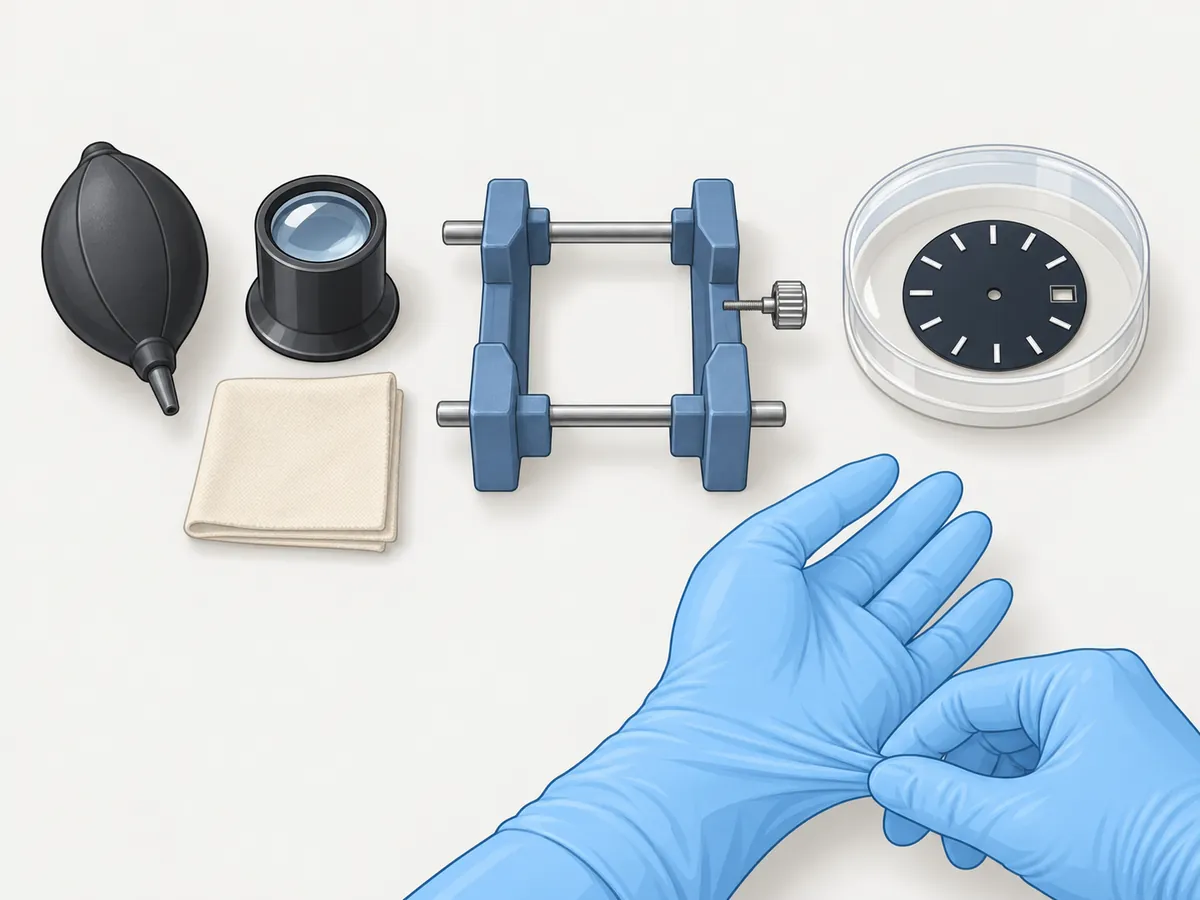
Work on a clean, light-coloured mat under a bright lamp, and put on gloves or finger cots. Hold the dial only by its edges, front and back. A fingerprint on a printed dial often won't come off, and wiping it can lift the print or the lume.
Step 2: Check the dial matches your case and movement
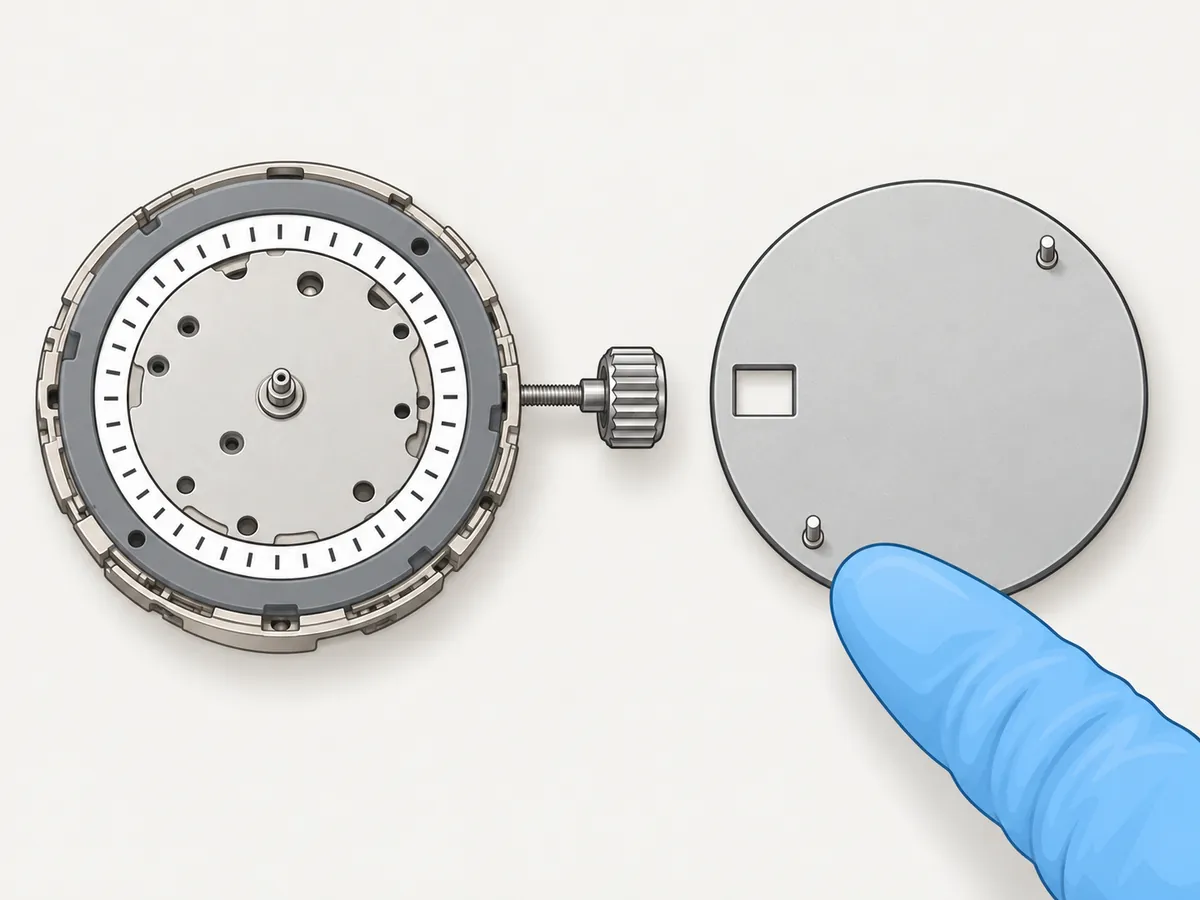
Before you open the bag, check three things on the listing and on the dial itself:
- Size: 28.5 mm across, for NH35/NH36.
- Crown position: dials are made for a crown at 3 o'clock, or at about 4 o'clock (sold as "3.8" or "4 o'clock"). The two layouts put the feet in different places, so a dial for one won't seat on a movement set up for the other. Some dials come with four feet (two pairs) so you can choose: you keep one pair and remove the other (step 4).
- Date window: on a crown-at-3 watch the window sits at 3 o'clock, over the date wheel. If you're using a 4 o'clock crown, buy a dial that's sold as matching a standard NH35 in that layout. A date window in the wrong place shows half a number or nothing at all, and it can't be fixed at the bench.
Also check thickness if the listing gives it: about 0.4 mm is standard. A thick dial (over about 0.5 mm) lifts the hands closer to the crystal.
Step 3: Take off old hands and dial (only if the movement came with them)
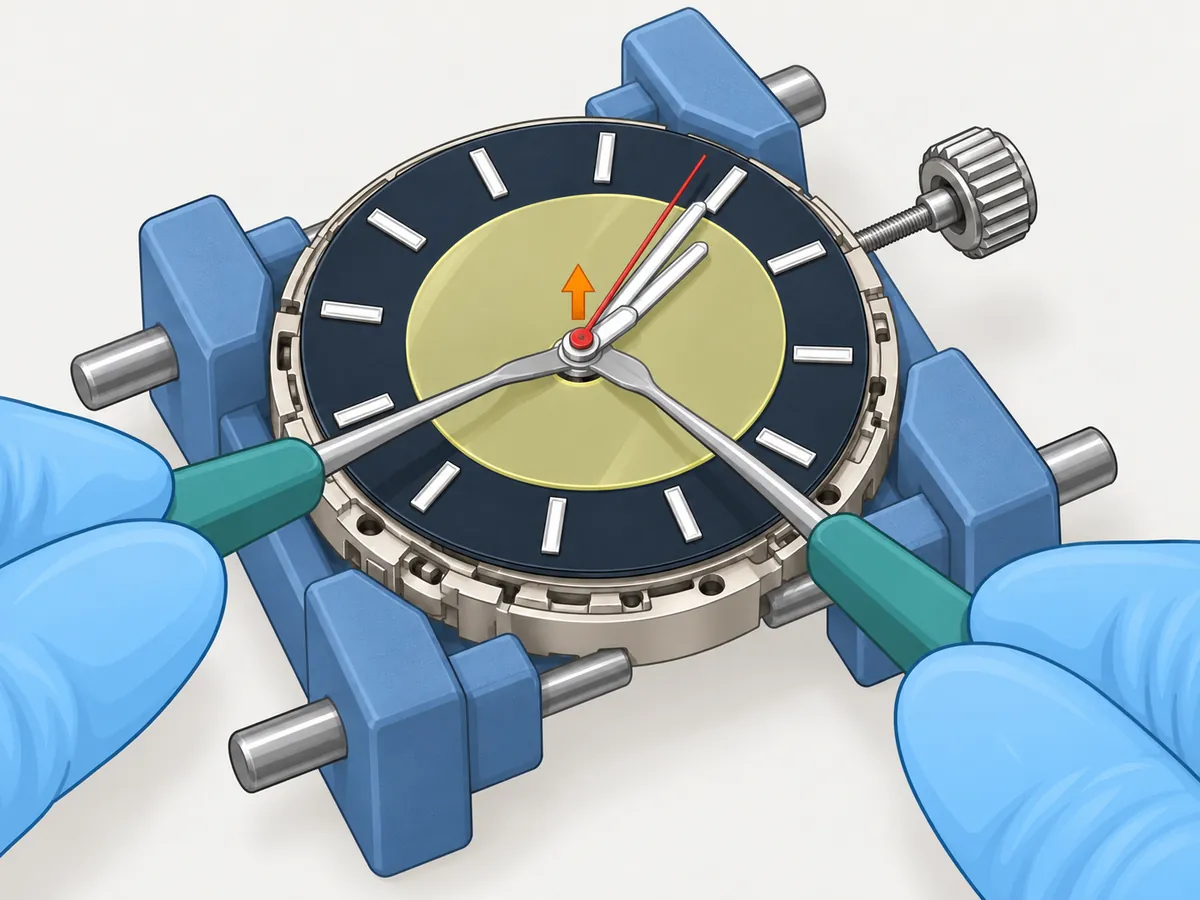
Skip this step for a bare movement. Wait until the seconds hand reaches 12, then pull the crown to the second click: that stops the seconds hand there. Turn the crown until the hour and minute hands point at 12 as well, so all three are stacked. Slide the dial protector flat on the dial with its slot around the centre. Put the two hand levers under the hour hand from opposite sides, squeeze them together gently, and lift all three hands straight up. Keep the levers squeezed until they're down on the mat, or the hands can fly off. Then slip the plastic pry tool into the gap between the dial and the plastic spacer next to a foot, and twist gently until the dial lifts straight up. Don't lever it from one side only, or you'll bend the feet. Keep the movement dial-up from now on, because with the dial off, the hour wheel at the centre is held only loosely and can drop out.
Step 4: Remove the extra pair of feet (only if your dial has four)
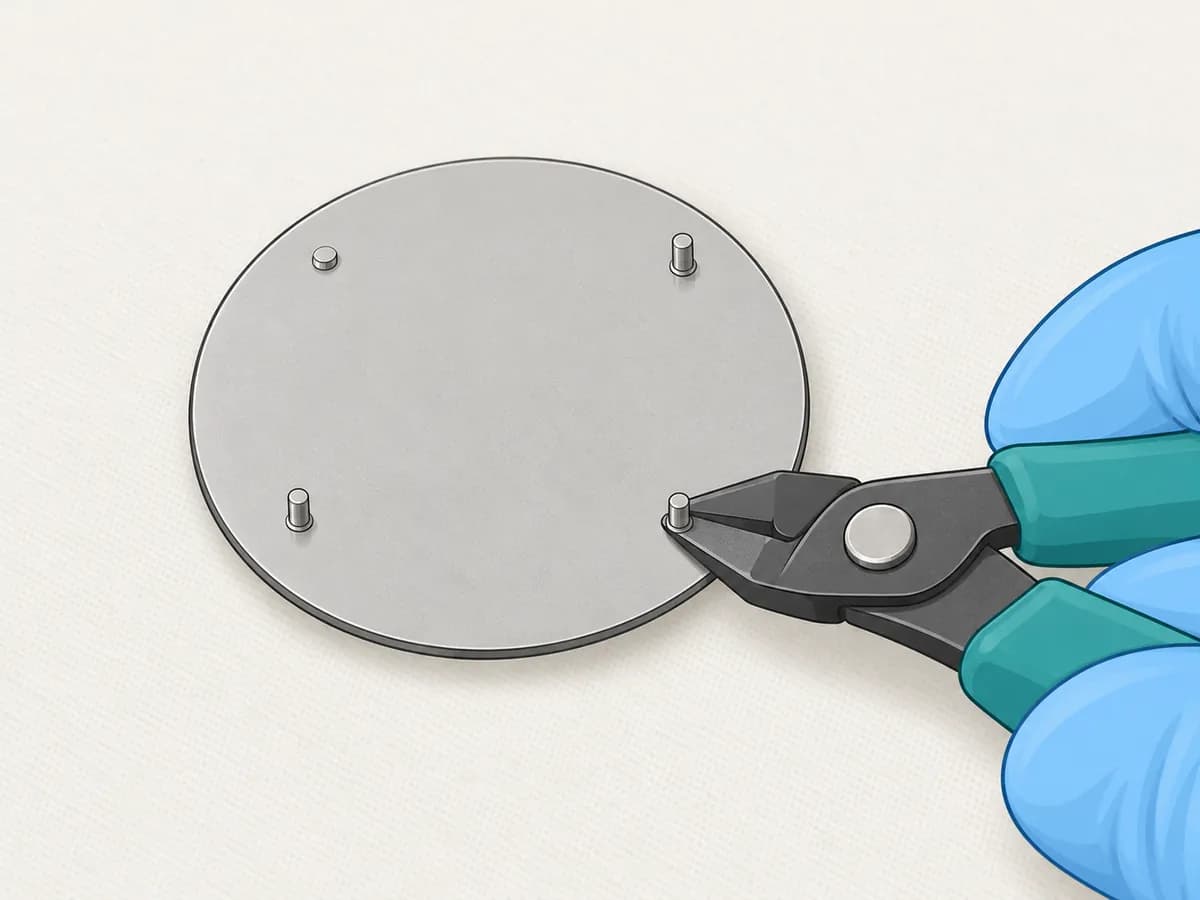
Turn the dial face-down on the cloth. Match the feet to the two holes in your movement's spacer: hold the dial just above the movement, face-up, with its date window over the date, and see which pair lines up with the holes. Lucius Atelier's guide says to keep the pair under the 8 and 38 minute markers for a crown at 3, and the pair at 12 and 42 for a crown at 4, but always confirm against your own holes. Cut off the other pair with flush cutters, close to the dial. Then shave what's left of each stub flat with the craft knife, so the dial will sit flat. Do this away from the movement so no metal chips land on it.
Step 5: If your dial has no feet, use dial dots instead
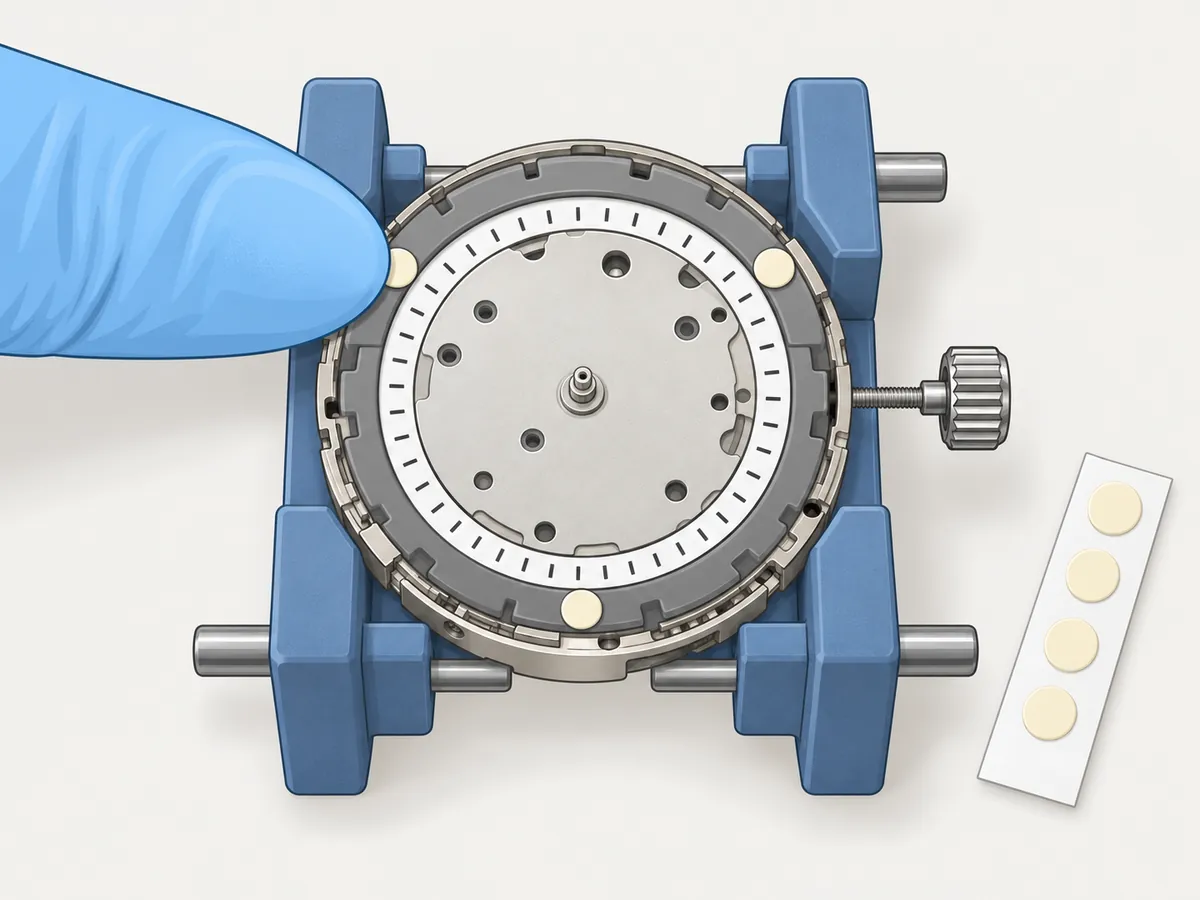
A dial with feet that match is always the better choice. Dial dots are the fallback for a dial without feet, or one whose feet you've removed. Stick two or three dots onto the plastic dial holding spacer, spread evenly around the ring, and press each one flat. They must sit only on that fixed ring. Keep them off the date wheel, which turns underneath, and off anything at the centre. Peel off the top backing just before step 6. You only get one go at placing the dial, so do a dry run first with the backing still on.
Step 6: Line up the dial and lower it straight down
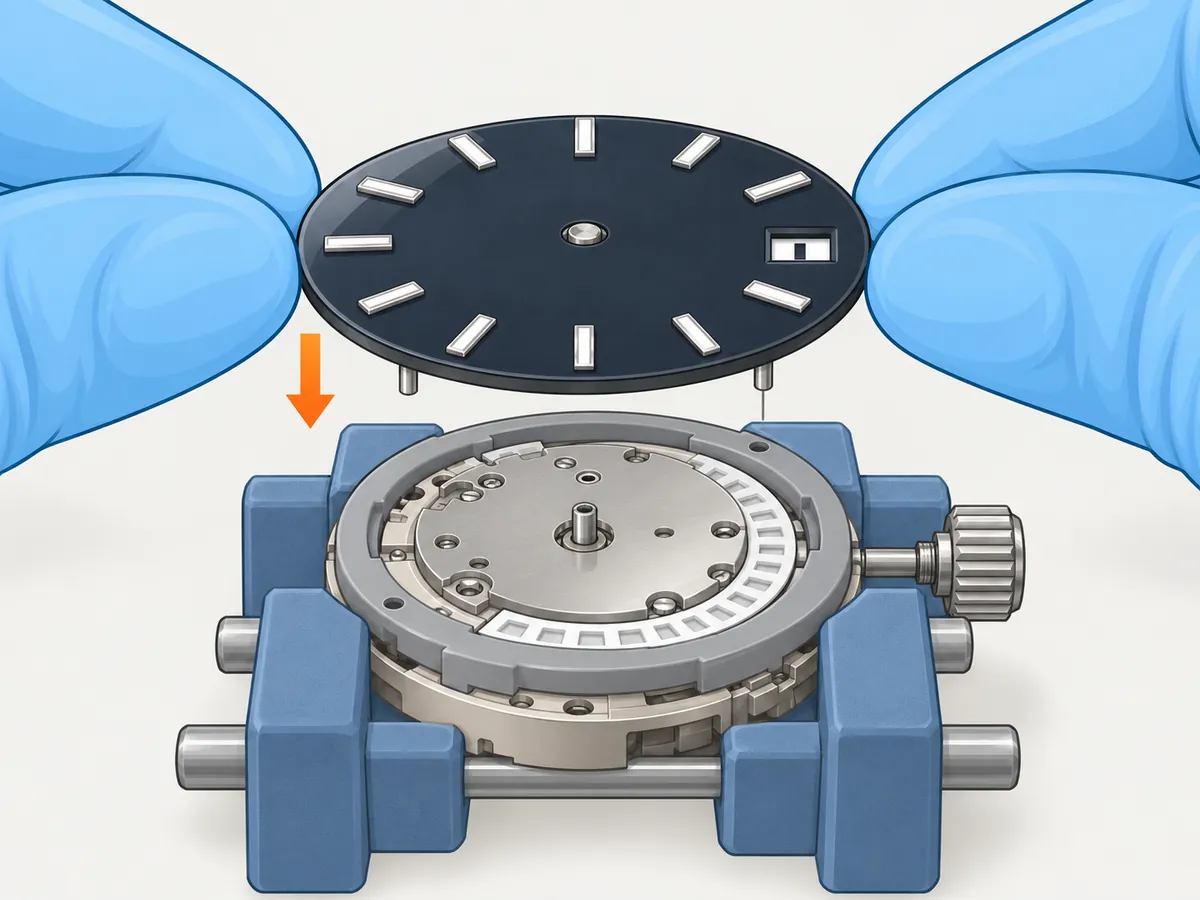
Seat the movement dial-side up in the holder, crown pointing right. Blow the dial side clean. If the dial has a protective film, leave it on for now: it protects the dial while you press it. Hold the dial level by its edges, about 1 cm above the movement. Turn it until the date window sits over the date and the two feet sit over the two holes in the spacer. Check that the centre hole is over the three hand posts. Lower it straight down until the feet start into the holes. If they don't drop in easily, stop. Forcing the dial bends the feet. A foot that won't go in is bent, or it's the wrong dial for your layout.
Step 7: Press the dial down flat
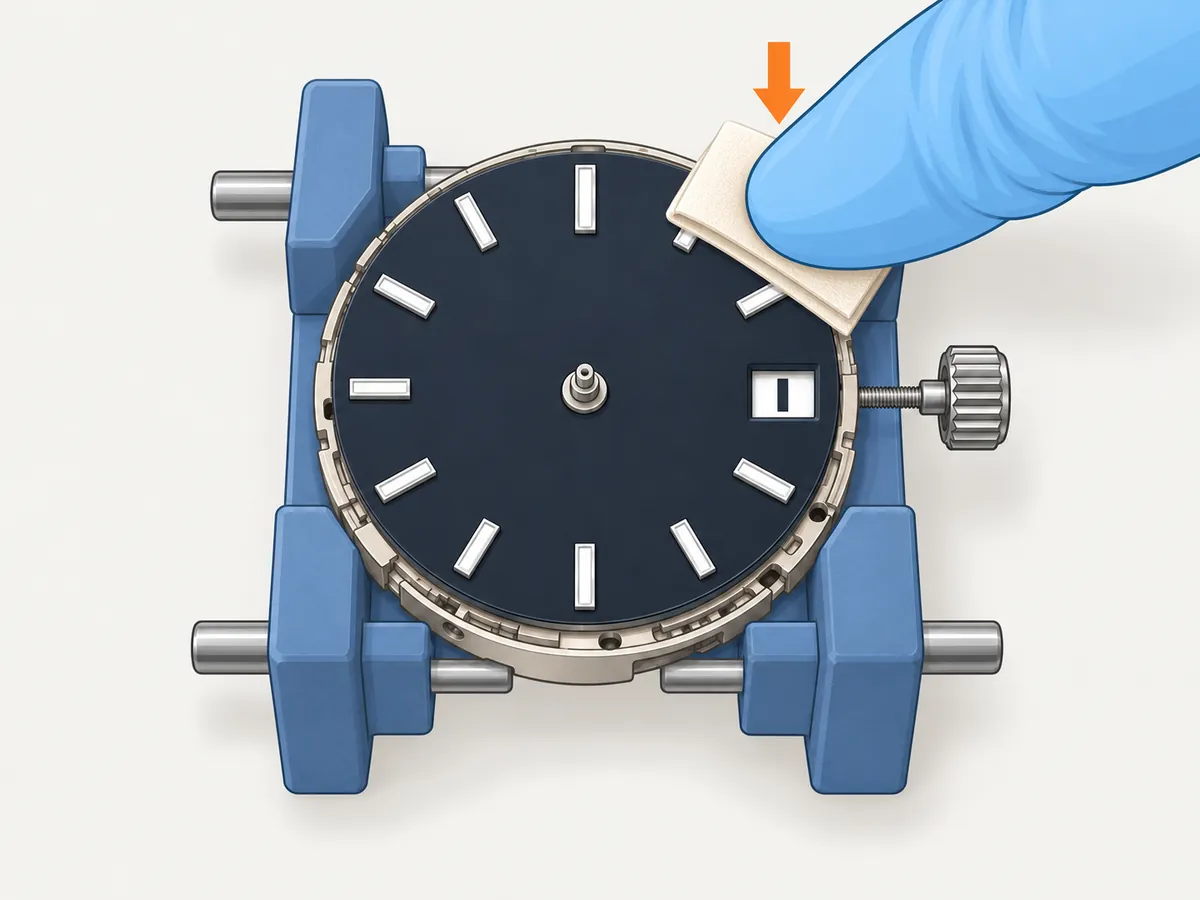
Put the lint-free cloth (or a scrap of protective film) over the dial. With a gloved fingertip, press gently straight down on the dial's edge directly above one foot, then above the other. Stop as soon as the dial sits flat. Don't press in the middle of the dial: it's thin and can bend. For a dial on dial dots, press gently all around the edge over the dots.
Step 8: Check the date sits in the middle of the window
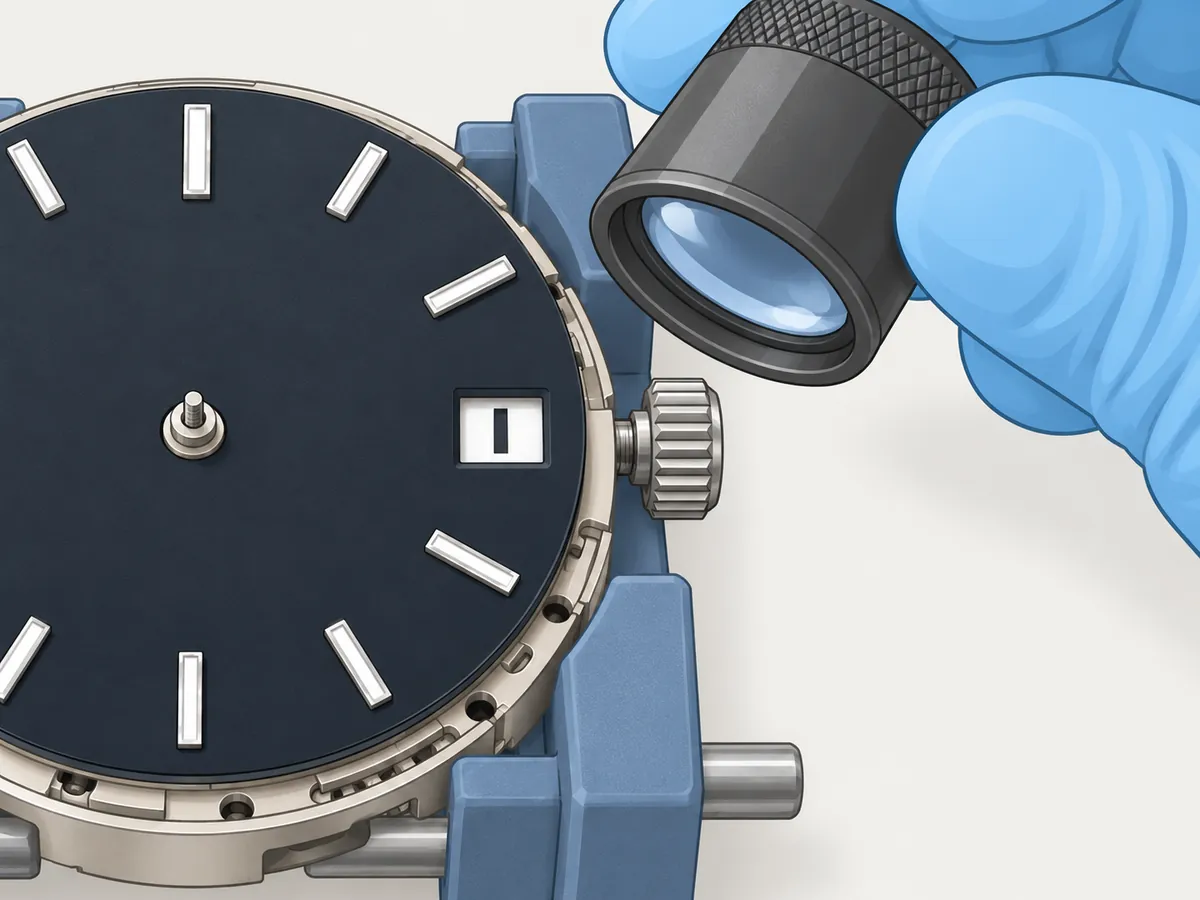
Look through the date window under the loupe. The date number should sit in the middle of the window, with no edge of the next number showing. Don't use the crown's quick-set to check other dates. With no hands on yet you can't tell the time, and Seiko warns against quick-setting the date between 9 pm and 4 am. If you want to see a second date, pull the crown to the second click and turn it until the date changes by itself, as in the hands guide.
Step 9: Check from the side, then keep it clean
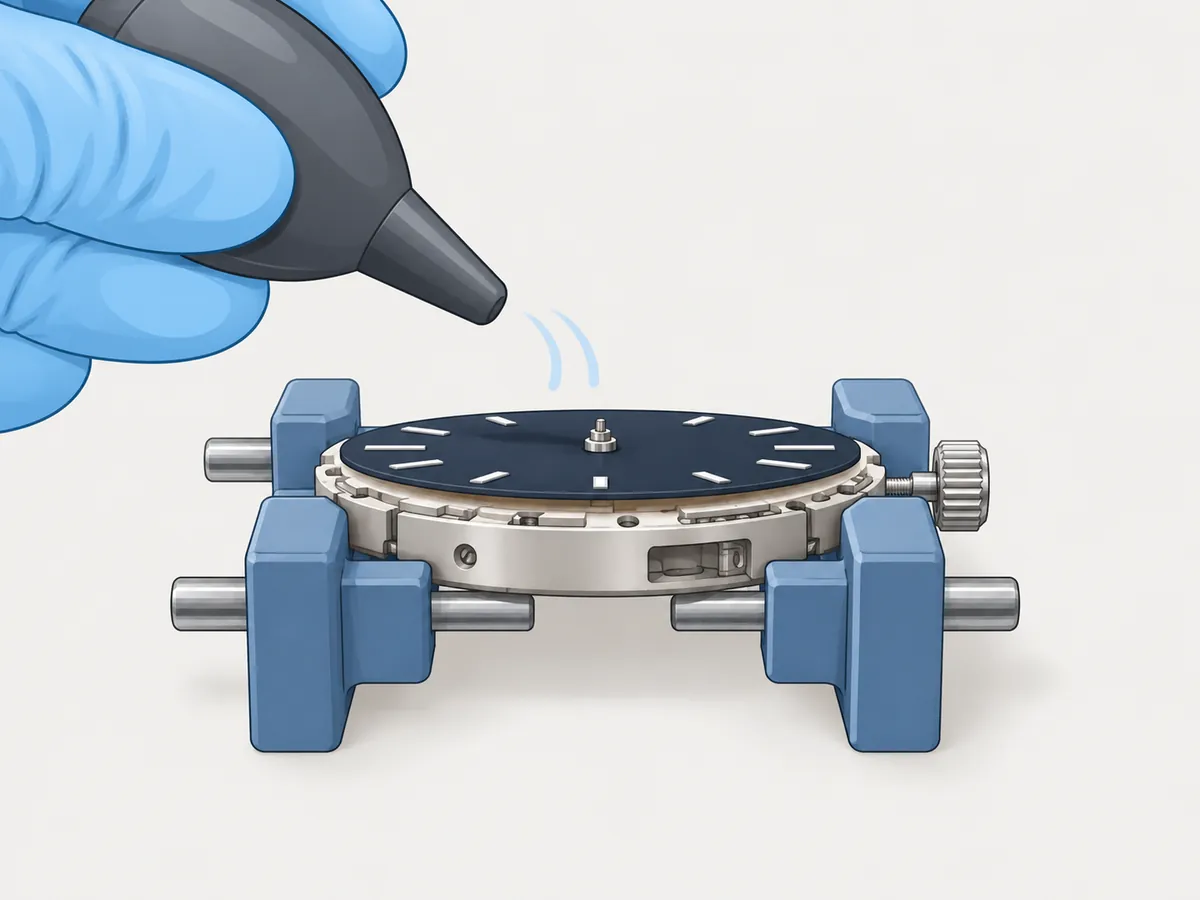
Look at the dial from the side at 12, 3, 6 and 9. It should sit flat on the spacer all the way round, with no gap and no tilt. The three hand posts should stand in the middle of the dial's centre hole without touching its edge. Blow off any dust and leave the protective film on until you fit the hands. If you're not fitting the hands straight away, cover the movement (an upturned clean cup works) so dust can't settle on it.
Common mistakes
Buying a dial for the wrong crown position. The feet won't line up with the holes, or the date window misses the date. Check the listing for "NH35", 28.5 mm and your crown position before you buy.
Forcing the feet. If the dial doesn't drop in, a foot is bent or in the wrong place. Pushing harder bends it further and can mark the dial. Lift it off and look.
Pressing on the middle of the dial. Press only over the feet, through a cloth. A bent dial looks dished under the crystal.
Cutting the wrong pair of feet. Check against the holes in your movement before you cut. You can't put a foot back without leaving a mark on the dial.
Dial dots on the date wheel. A dot that touches the date wheel stops the date changing, or drags on the movement. Dots go on the fixed plastic ring only.
Bare fingers. Skin oil marks printed dials for good. Wear gloves and hold the dial by its edges.
Wiping the dial. Cloths and putty can lift print and lume. Blow dust off. Don't rub it.
Turning the movement over with the dial off. The hour wheel can fall out. Keep it dial-up.
Check before fitting the hands
- The dial sits flat all the way round, with no gap at the spacer and no tilt.
- The date number sits in the middle of the window.
- The hand posts are centred in the dial's centre hole.
- No dust, fingerprints or loose fibres on the dial under the loupe.
- If you took off a protective film by mistake, check the dial for marks before going on.
Plan a watch around an NH35
Pick a case, dial, hands and strap for the movement, see which parts likely won't fit and preview the finished watch before you buy anything.
Sources
- Seiko Instruments (SII) / Time Module, Technical Guide & Parts Catalogue, Cal. NH3 series (NH34A/35A/36A/37A/38A/39A). Dial holding spacer (part 4408 172), casing diameter with the spacer, date dial variants, the dial-side parts stack and the 9 pm to 4 am date-setting window. Hosted by Cousins UK.
- Seiko Instruments (SII), Cal. NH3 series parts sheet / technical guide v02. Hosted by Cousins UK.
- Lucius Atelier, Complete Seiko mod dial compatibility guide: NH34, NH35, NH36 dial feet, sizes and date windows. Four feet in two pairs, which pair to keep, shaving the stubs, 28.5 mm, 0.4–0.6 mm thickness.
- Lucius Atelier, Tutorial: how to modify your Seiko watch dial and hands. Feet seat in two holes in the movement ring, removing the dial with a thin blade, adhesive as a fallback.
- Lucius Atelier, Seiko Modding: The Complete Build Guide. "Never force the dial."
- Lucius Atelier, Seiko TMI NH35 movement product page. Crown at 3 or 4, date window position.
- NoMods, How to build your first Seiko mod. 28.5 mm vs 30.8 mm dials; the dial sits flat with no gap at the movement ring.
- Rotate Watches, Seiko mod parts compatibility. Dial feet spacing is the same across NH34/35/36.
- Rotate Watches, NH36 watch movement specifications. The spacer ring's role.
- Clockmaker (Australia), DIY Seiko 7S26, chapter 7. Hand levers under the hour hand and kept squeezed, lifting the dial. The 7S26 is the NH35's predecessor.
- Omega Forums, Broken dial feet: repair, solder, dial dots or milling. Dial dots for and against; re-adding feet leaves a mark.
- WatchRepairTalk, Have you had success with dial dots?
- DIY Watch Club, Diver kit tools page. Finger cots.