How to close the caseback and check water resistance
The caseback is the last part to go on, and it does two jobs. It holds the movement in place, and its gasket (a thin rubber ring) keeps water and dust out. Most Seiko mod cases have a screw-down caseback, closed with a caseback wrench. Some have a press-on back, which needs a caseback press. Either way the steps are the same: check the gasket, give it a thin film of silicone grease, seat it flat, then close the back without pinching it. Tighten by feel: firm, not forced. The gasket makes the seal, not your strength. Then be honest about what you've built. Without a pressure test you can't know whether it's water resistant, so treat it as splash-proof at best until a watchmaker has tested it.
- Time
- 15–20 minMost of it goes on the gasket: checking, greasing and seating it.
- Difficulty
- EasyAs long as the case is held firmly and the tool can't slip.
- Works with
- NH35
- NH36
What you need
Parts
The cased watch
With the movement in and the crown and stem fitted (see the casing guide).
The caseback and its gasket
Use a new gasket if the old one shows any wear (step 2).
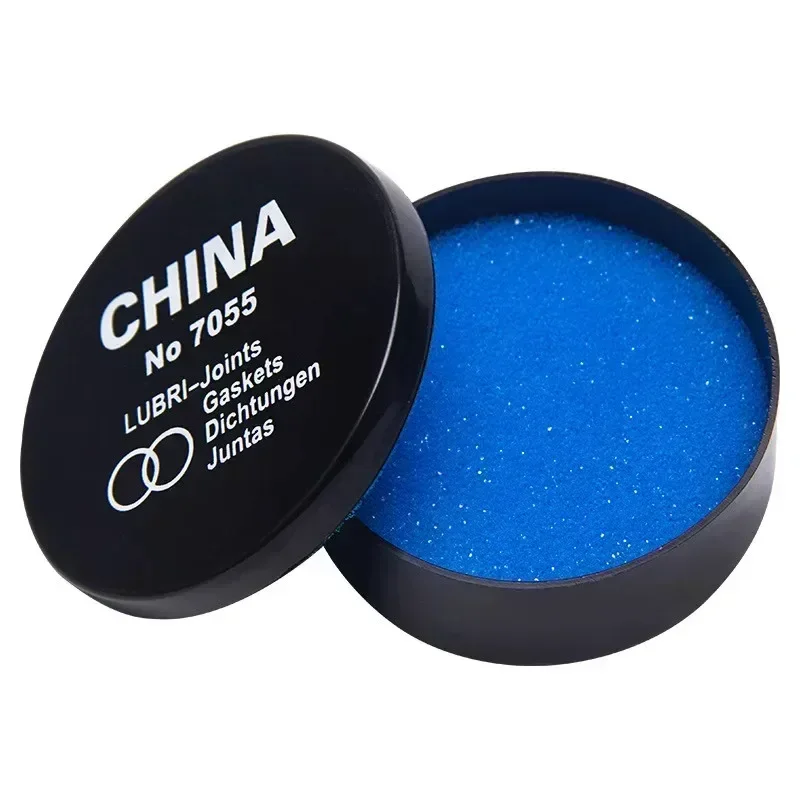
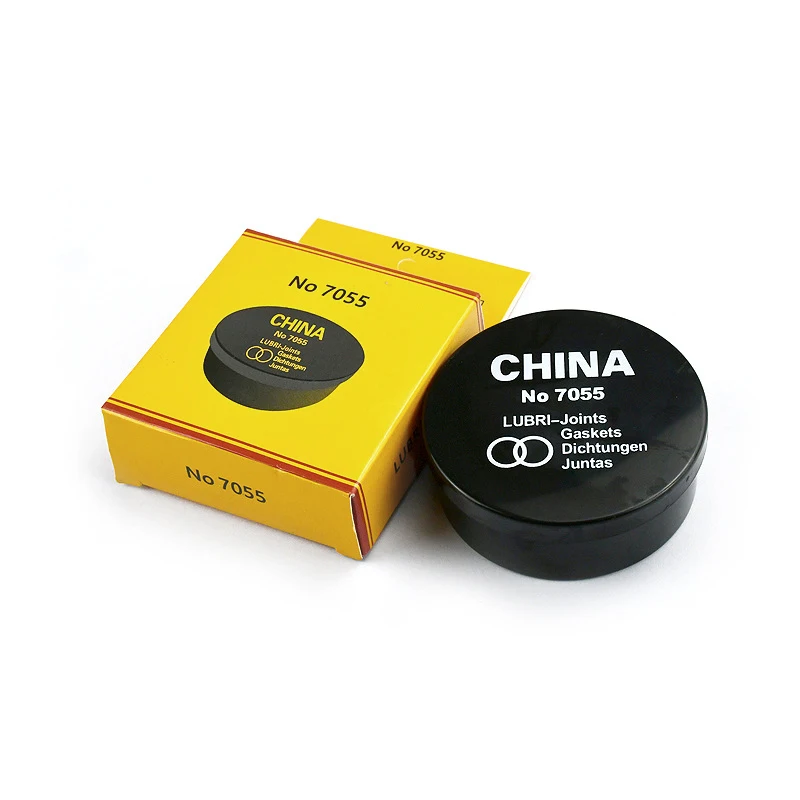
Silicone grease made for watch gaskets
Don't use petroleum jelly or oil-based grease: petroleum products attack rubber gaskets.
Tools
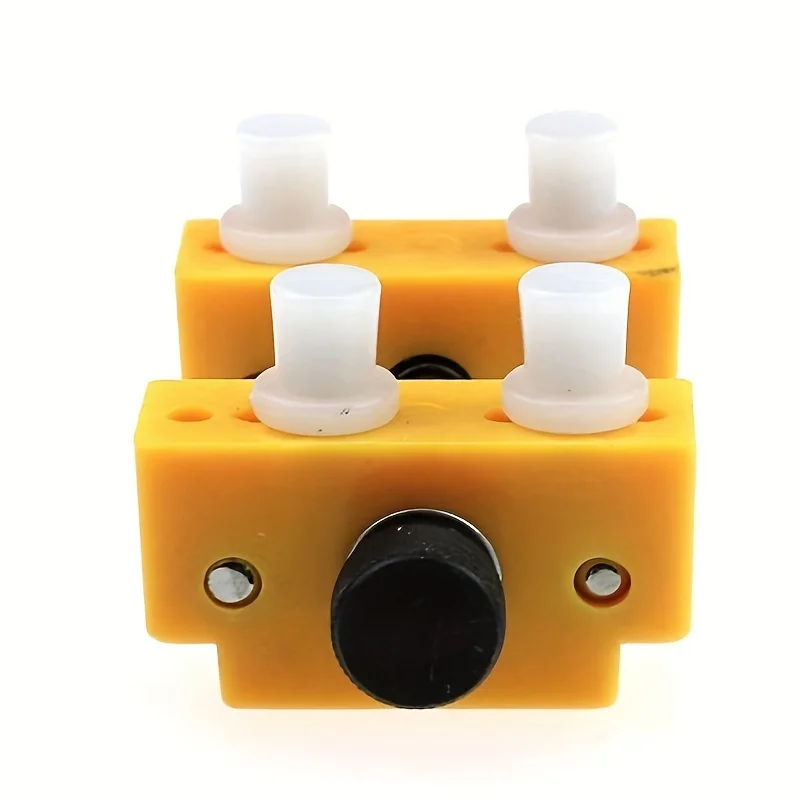
- Case holder
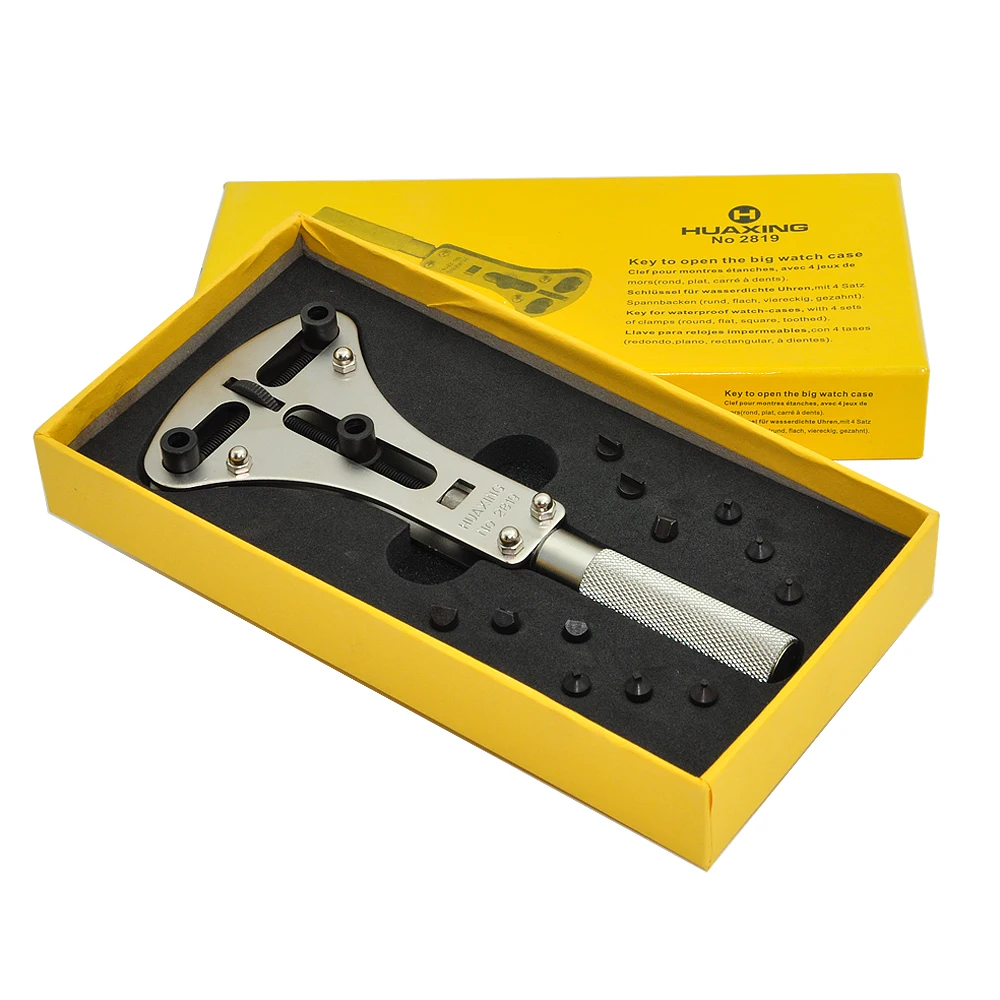
- Adjustable three-pin caseback wrench
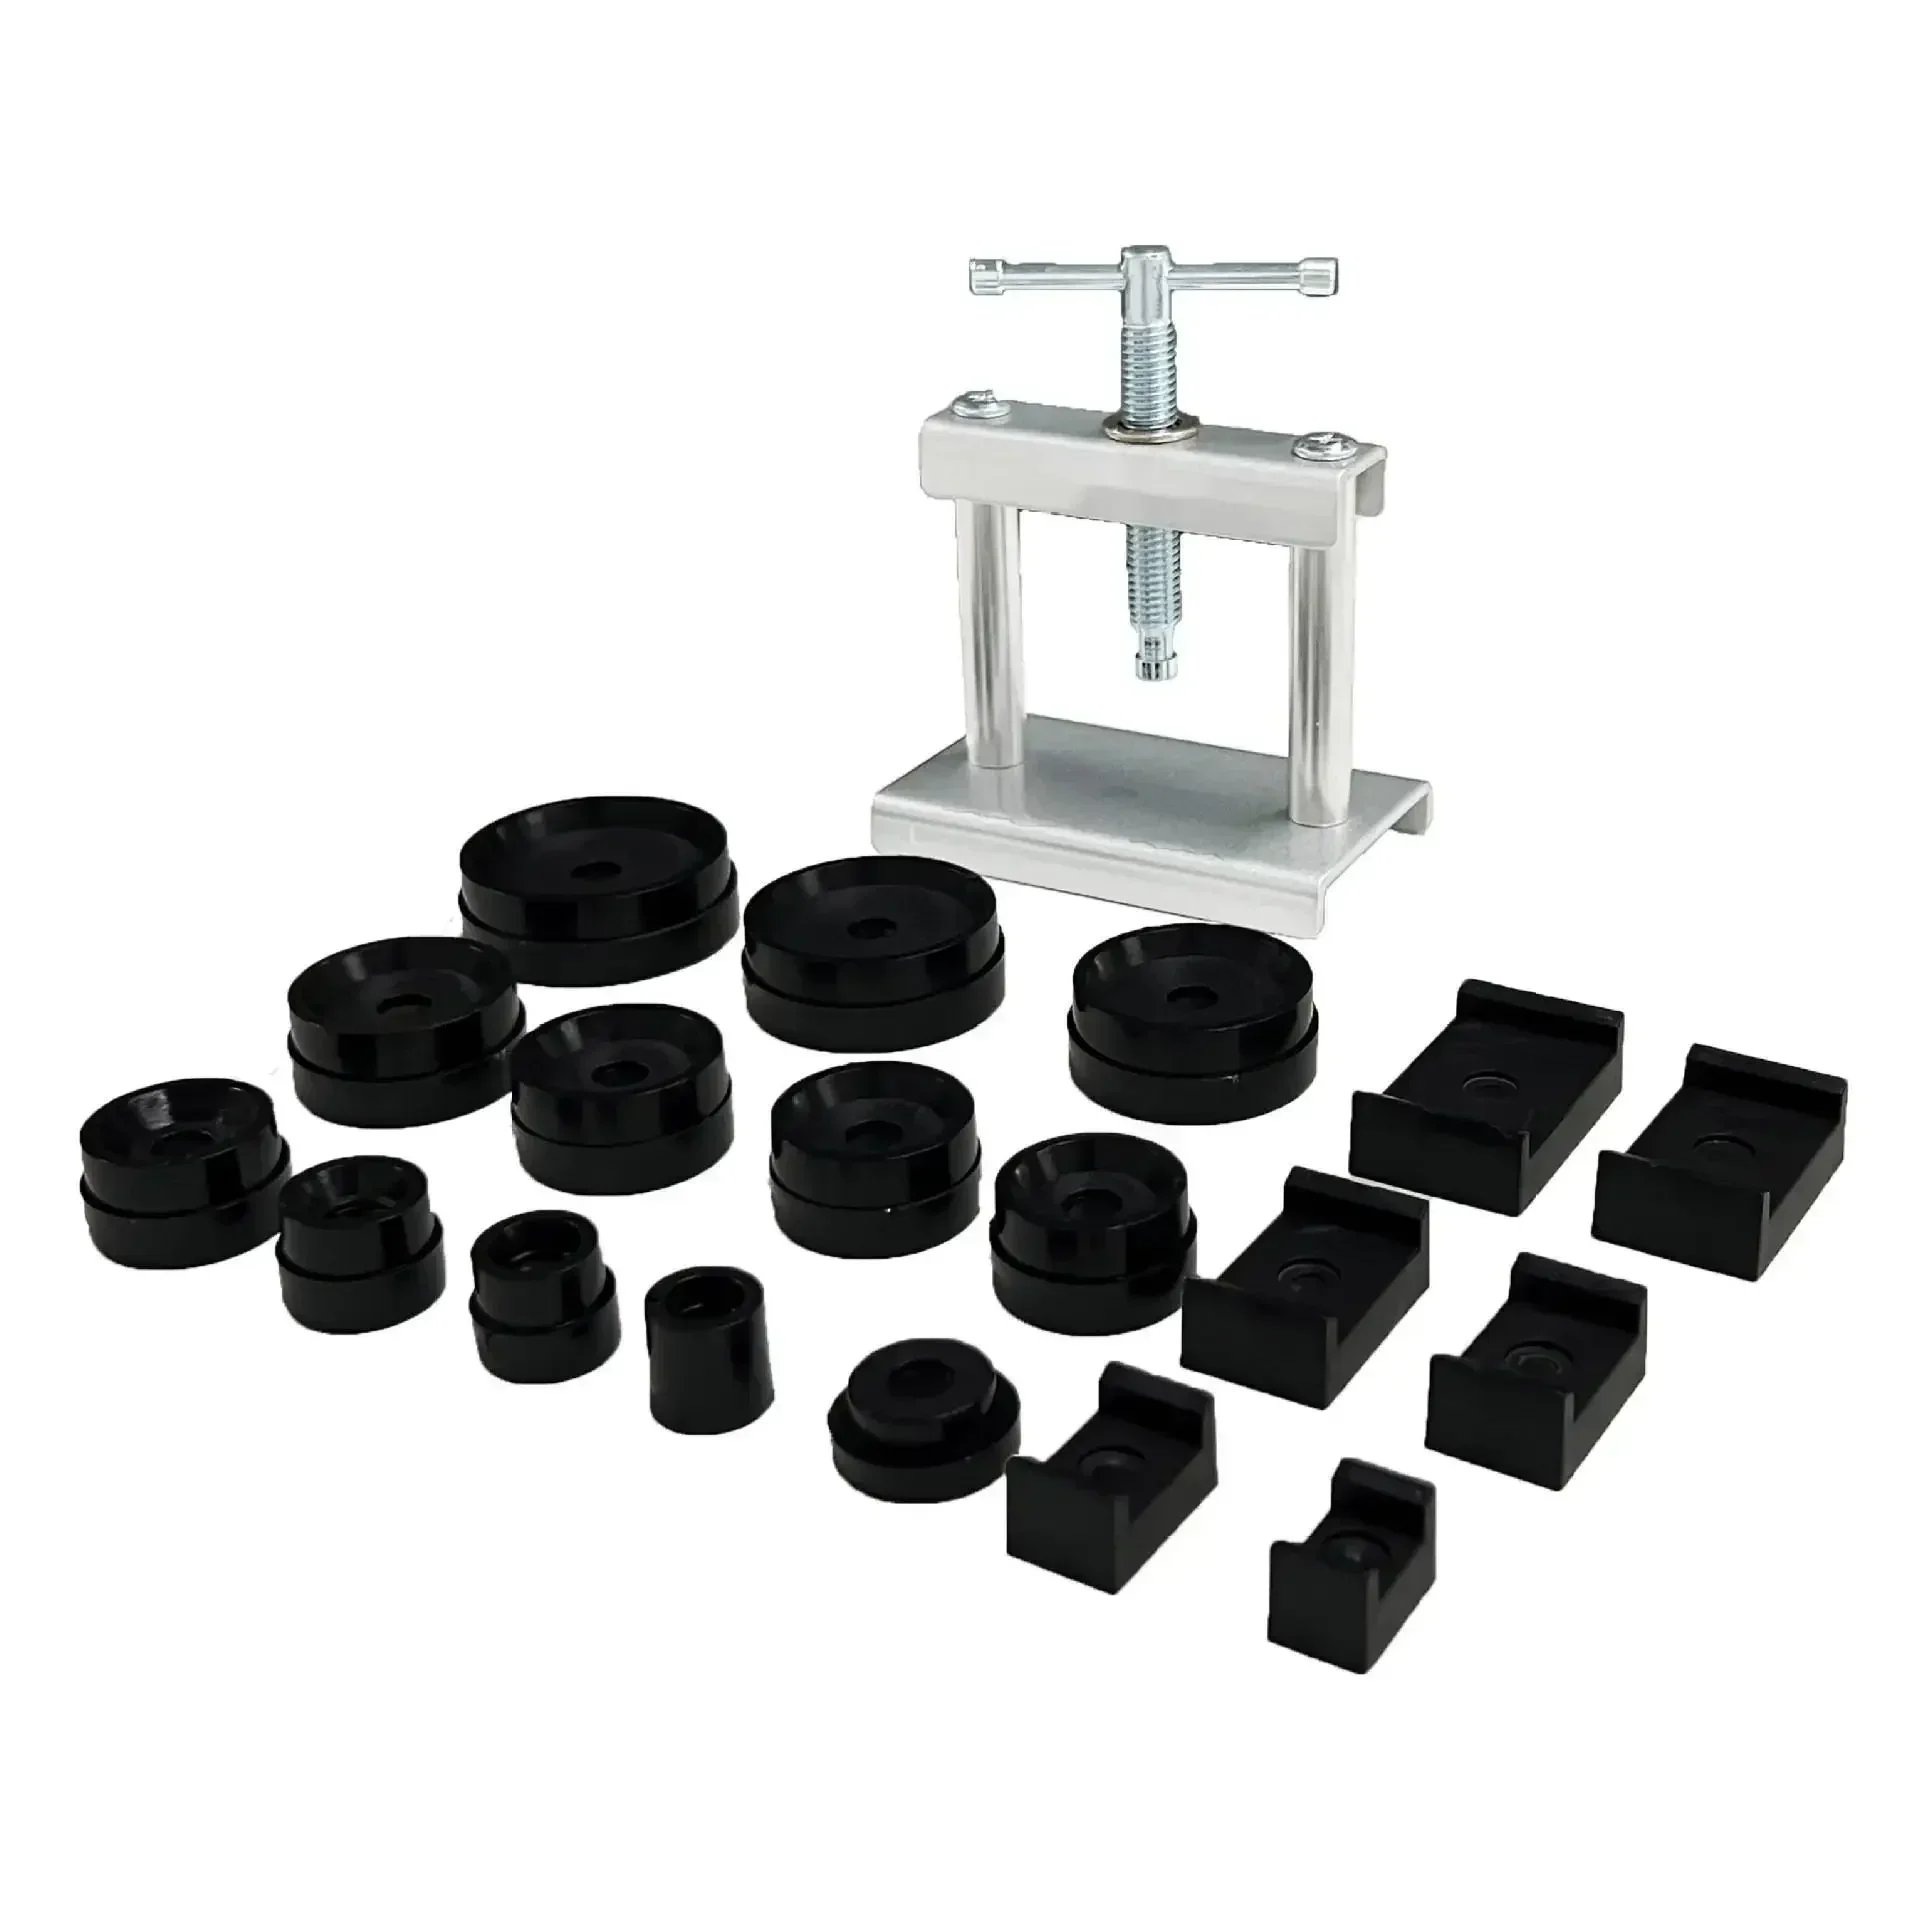
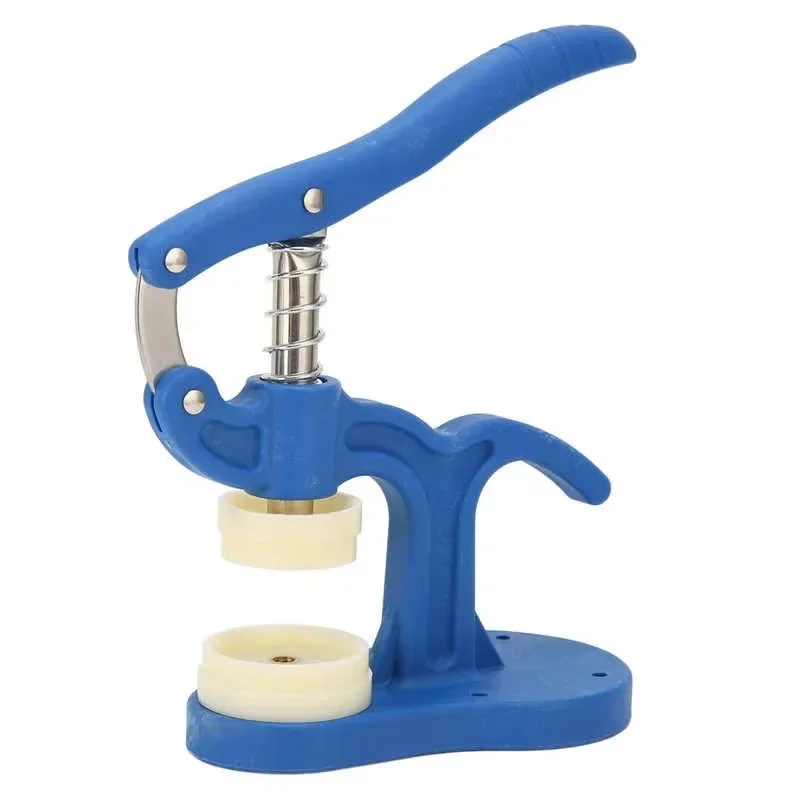
- Caseback press with a set of nylon dies
- Plastic tweezers or a wooden toothpick
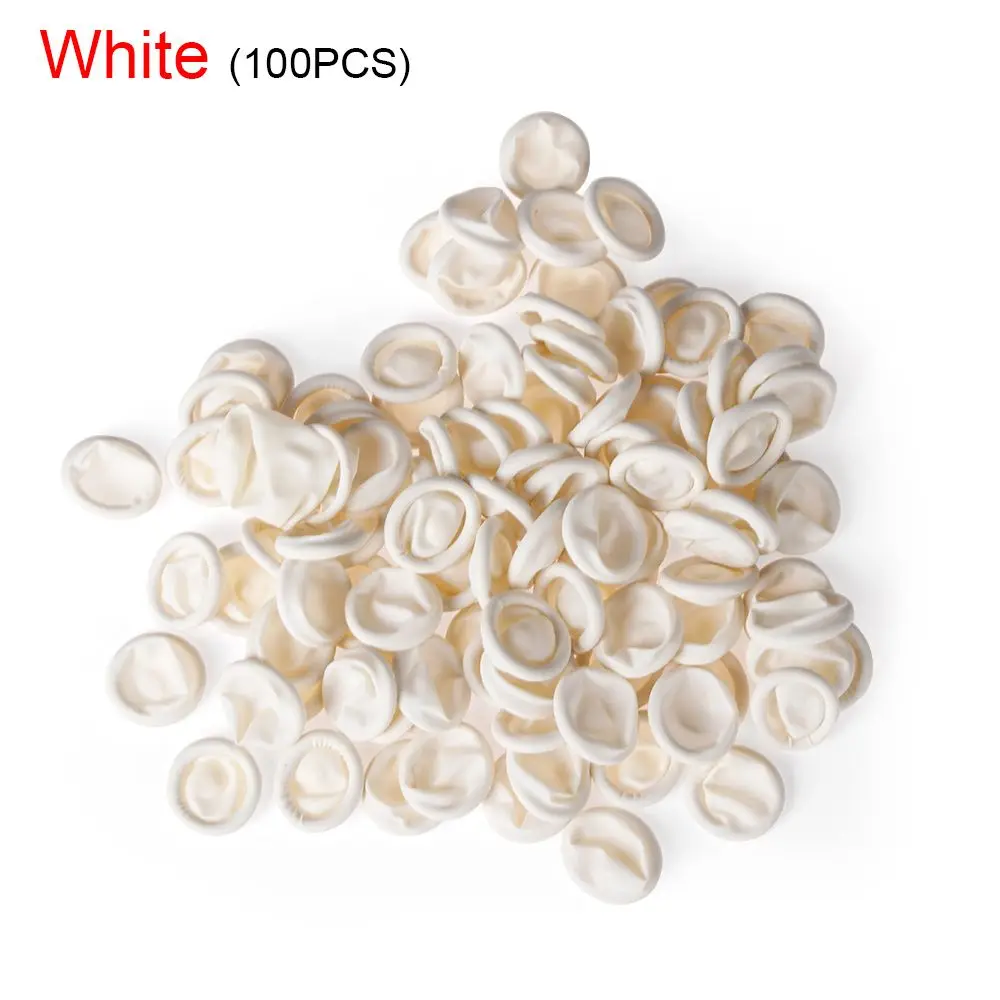
- Nitrile gloves or finger cots
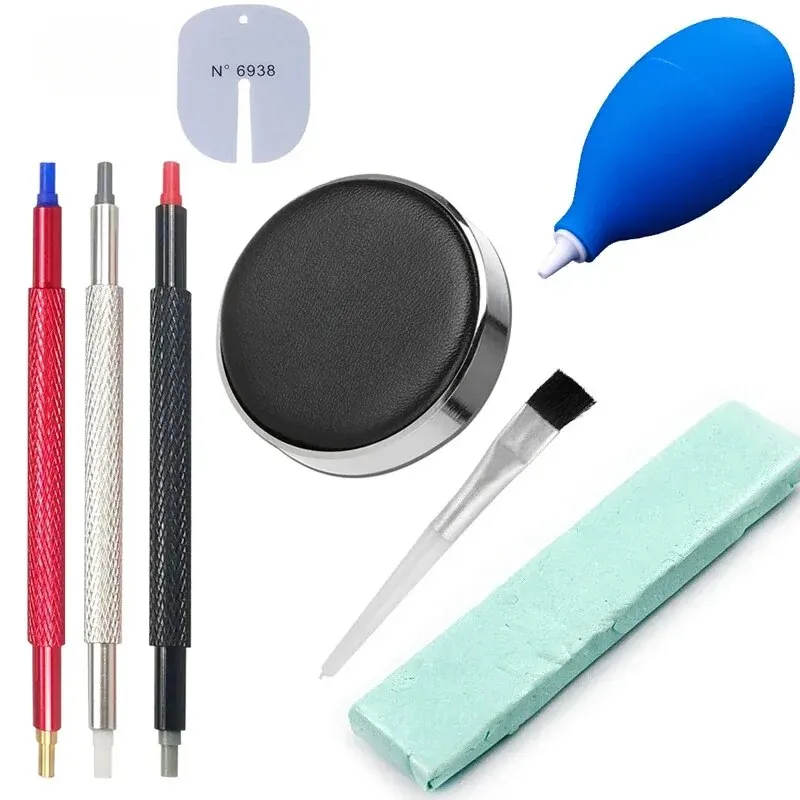
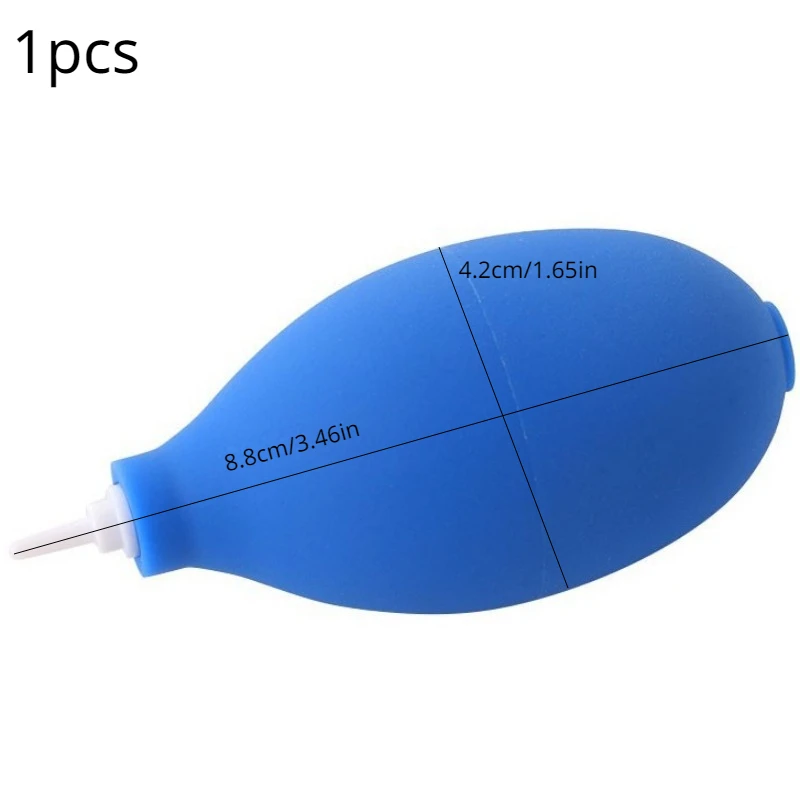
- Hand air blower (rubber bulb)
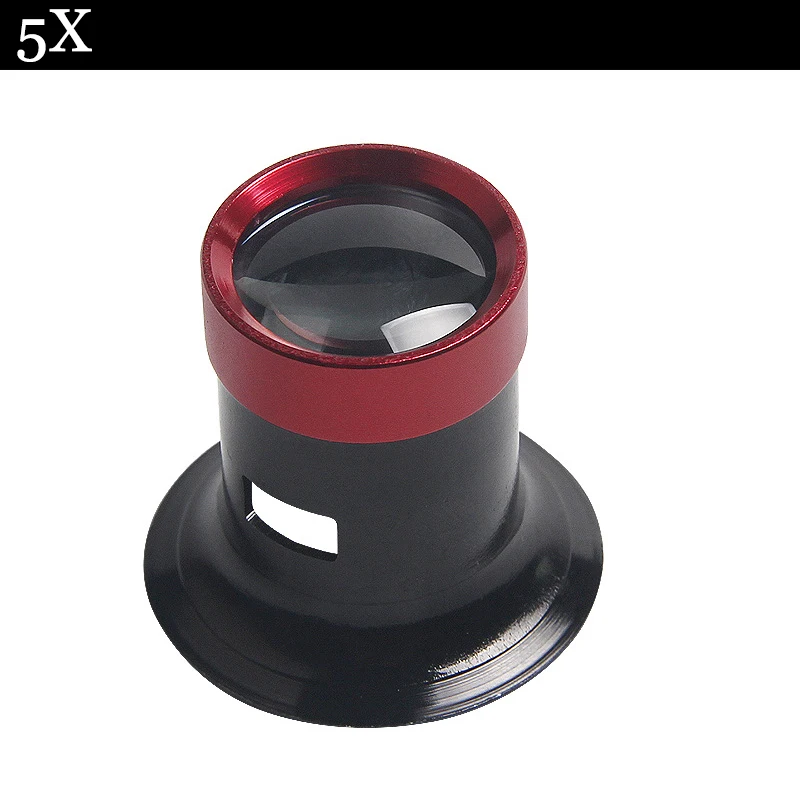
- Loupe or magnifier (3–5×) and a bright desk lamp
What each is for, and where to buy
Case holder
The same plastic holder as in the casing guide, with a soft pad or cloth under the crystal.
Adjustable three-pin caseback wrench
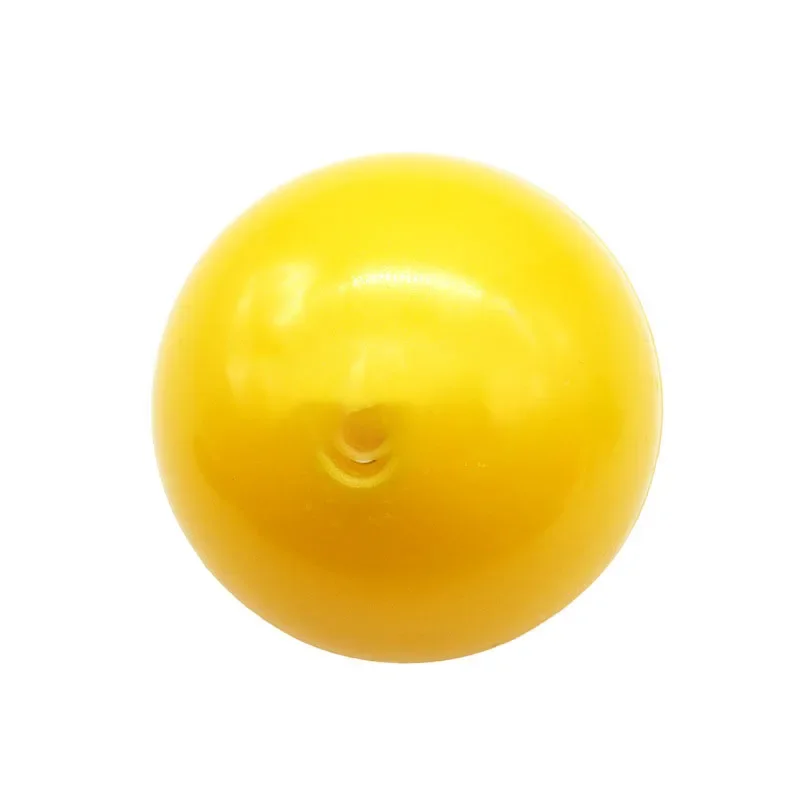
For a screw-down back. Often called a Jaxa-style wrench; set it to your caseback's notches. A rubber friction ball is fine for starting the thread but can't tighten the back properly.
Caseback press with a set of nylon dies
For a press-on back, with a case knife if you need to open it again.
Plastic tweezers or a wooden toothpick
For lifting the gasket. Never use a metal point.
Nitrile gloves or finger cots
For handling the gasket and grease cleanly.
Hand air blower (rubber bulb)
One fibre across the gasket is a leak.
Loupe or magnifier (3–5×) and a bright desk lamp
For inspecting the gasket.
Steps
The illustrations are AI drawings made to show each step, not photos. They simplify the parts, so where a drawing and the text differ, follow the text.
Step 1: Last look inside, then hold the case firmly
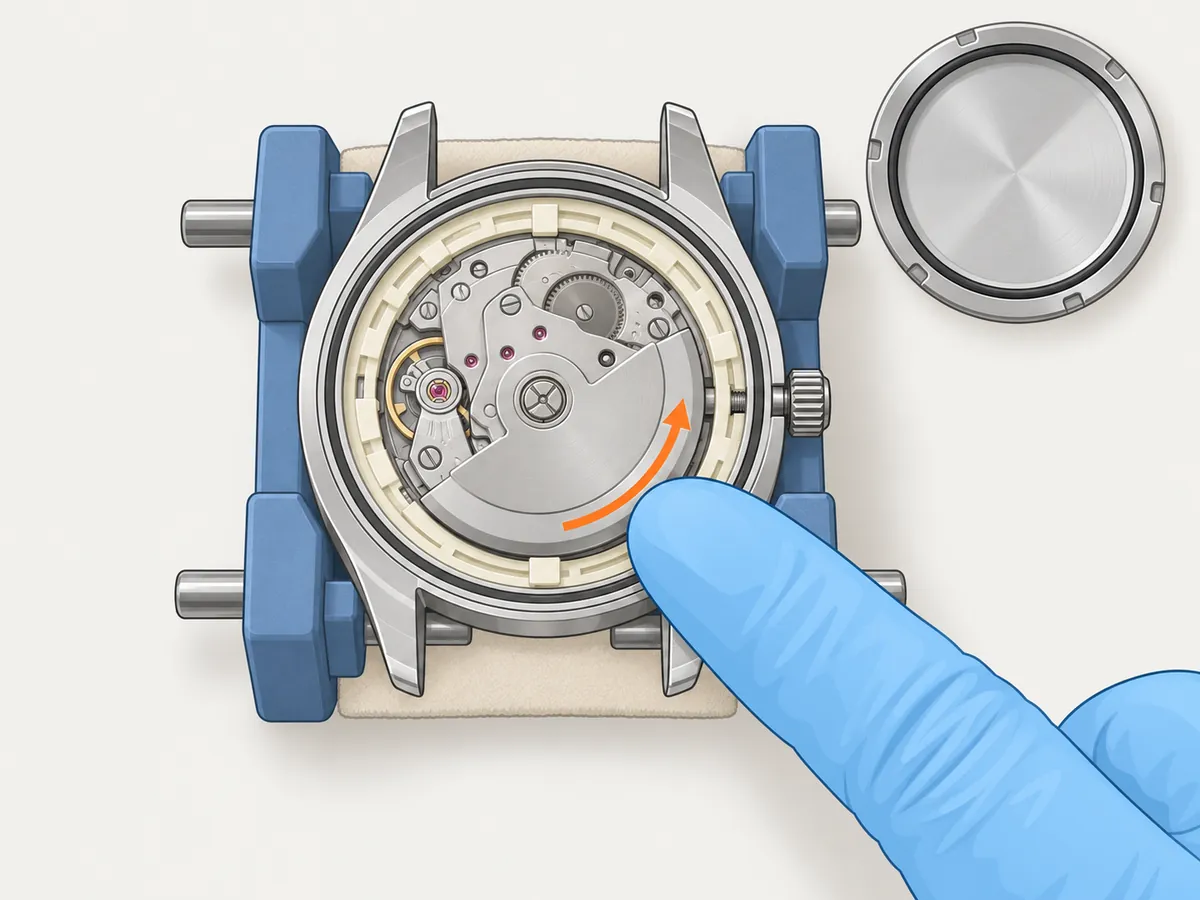
Before anything is sealed, check once more: wind the crown a few turns and make sure the seconds hand runs. Push the crown fully in (and screw it down if it's a screw-down crown). Flick the rotor gently with a gloved fingertip: it should spin freely without touching anything. Blow off any dust. Then lay the case crystal-down on the soft pad in the case holder, with the crown pointing right. Close the pegs on the sides of the case, between the lugs, until it can't turn. A case that moves in the holder is how wrenches slip and scratch casebacks.
Step 2: Inspect the gasket
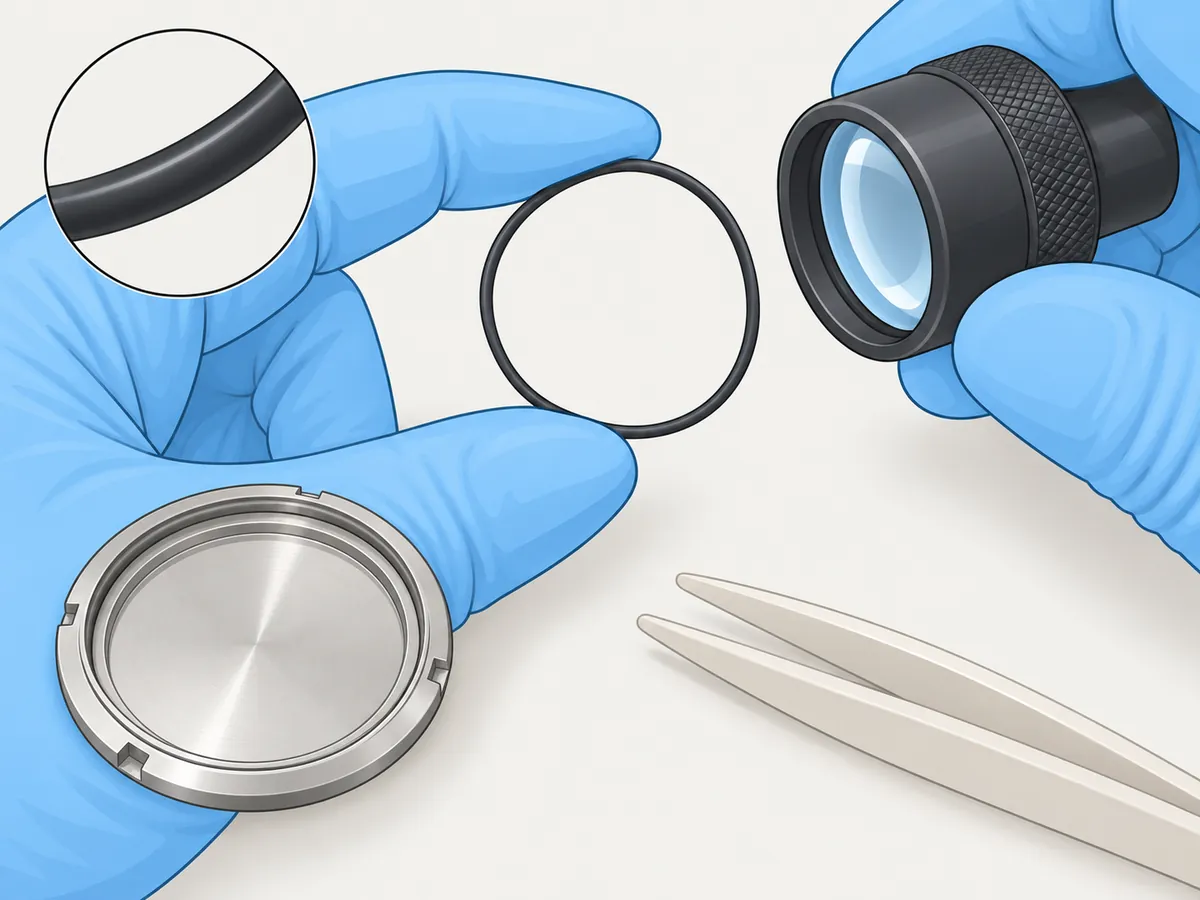
Lift the gasket out of its groove with plastic tweezers or a toothpick, and look at it under the loupe and lamp. A good gasket is soft, round in section, and springs back when you squeeze it lightly. Replace it if it's flattened on one side, cracked, nicked, stretched (it hangs loose in the groove) or hard. A new gasket must be the same size as the groove. Measure the groove's inside and outside diameters, or buy the one listed for your case. Wipe the groove clean and blow out any dust or fibres. One fibre across the gasket is a leak.
Step 3: Give it a thin film of silicone grease
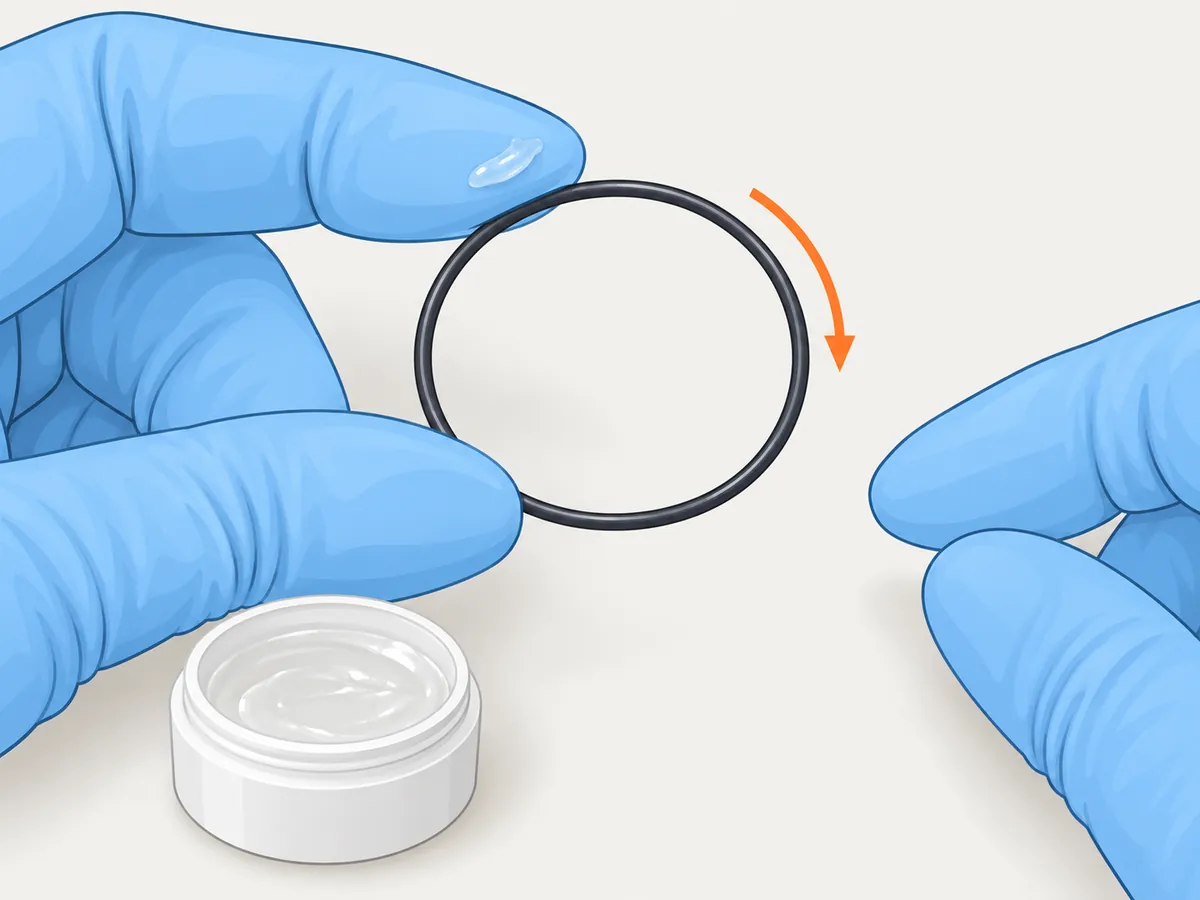
Put a dot of silicone grease the size of a grain of rice on a gloved fingertip. Roll the gasket between your finger and thumb until it's evenly coated all round. It should look glossy, not goopy. The grease doesn't seal anything on its own. It lets the gasket slide and settle as the back closes, instead of catching and twisting. Too much grease just collects dust and can squeeze out onto the movement.
Step 4: Seat the gasket flat in its groove
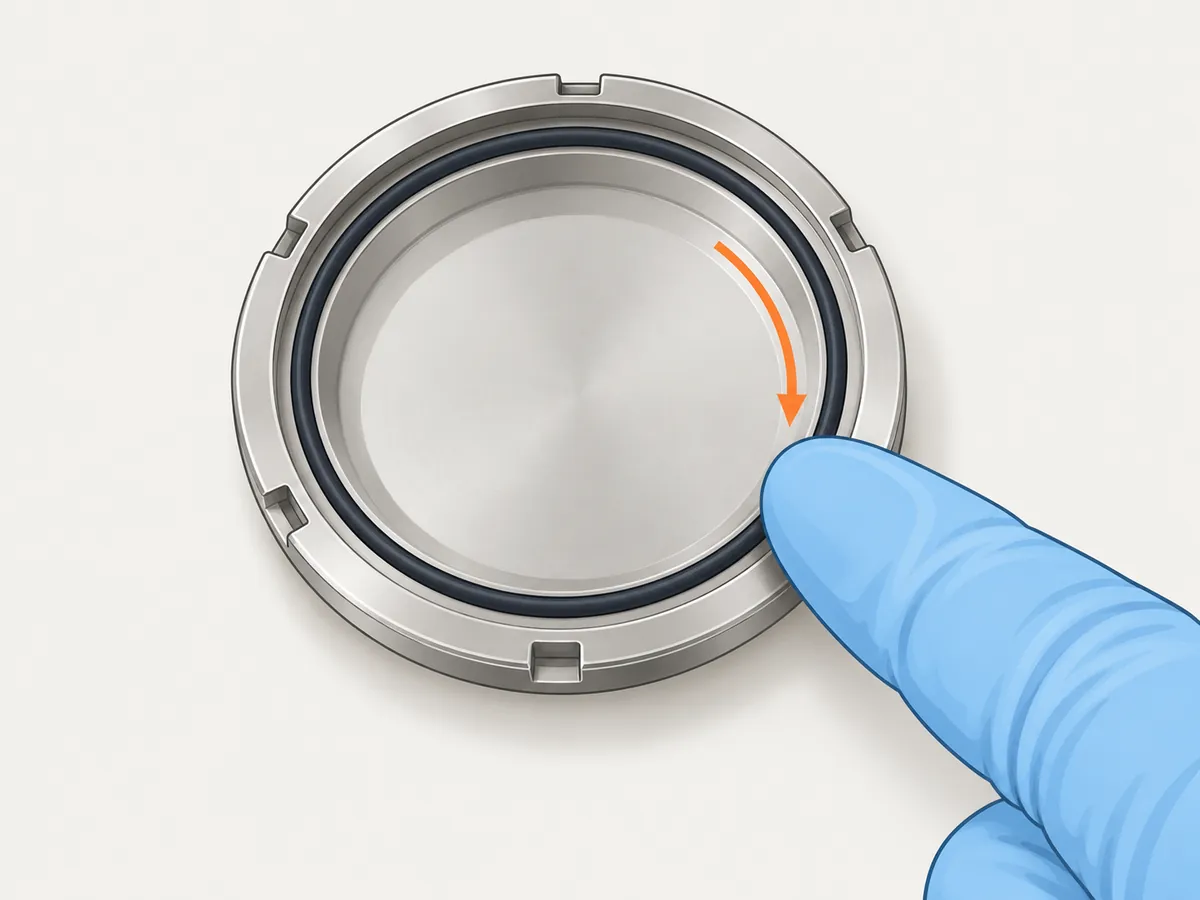
Lay the gasket back in its groove (on the caseback or in the case, wherever it came from) and press it down gently all the way round with a fingertip. Then run your fingertip slowly around it once more. It should sit flat and even, with no twist, kink or loop sticking up. If you see one, lift it out and seat it again. One fold is enough to let water in.
Step 5: Start a screw-down back by hand
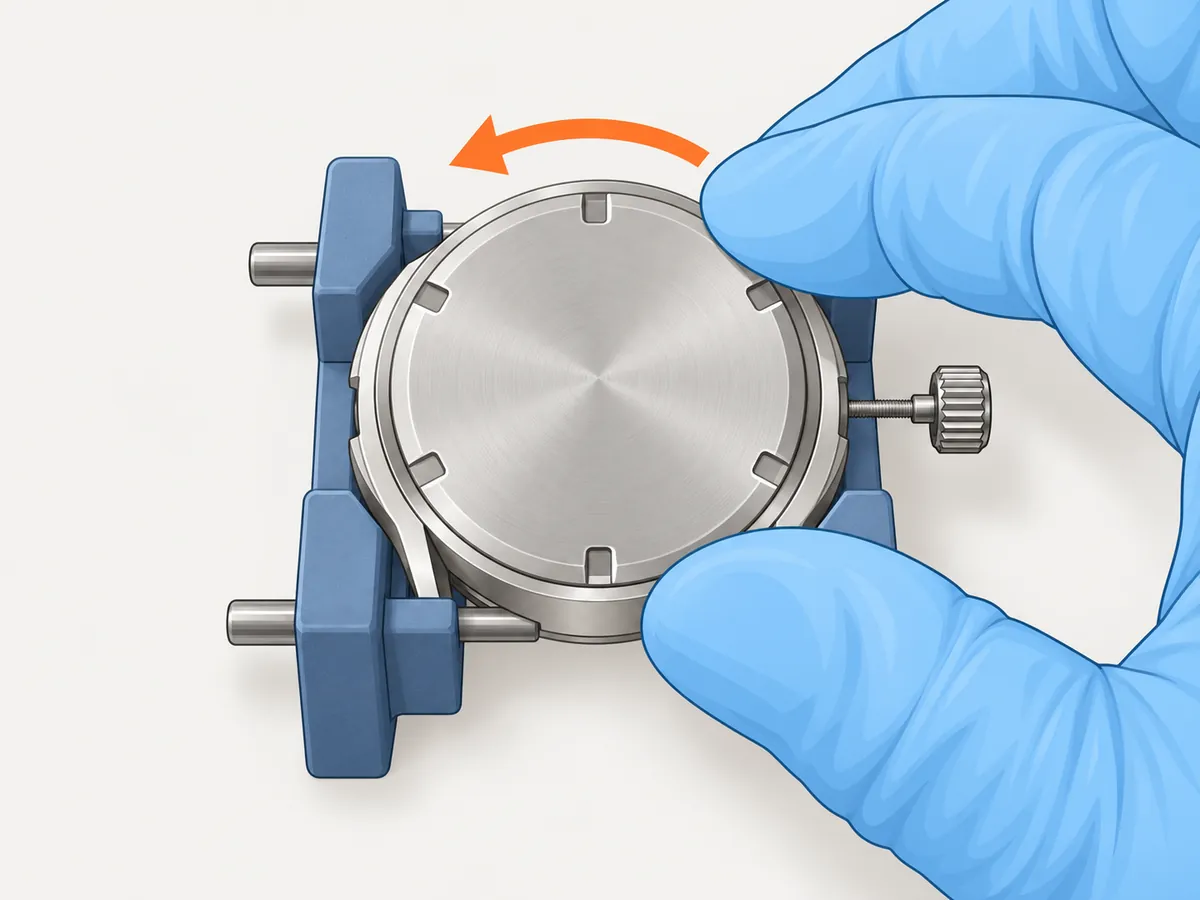
Skip to step 7 if your caseback is press-on. Lay the caseback level on the case. Turn it anticlockwise slowly by hand until you feel a slight click as the threads drop into line. Then turn it clockwise by hand. It should turn easily for several turns. If it gets stiff after less than a turn, stop: it's cross-threaded. Unscrew it and start again. Forcing a crossed thread ruins the thread in the case and cuts the gasket.
Step 6: Tighten it with the wrench, by feel
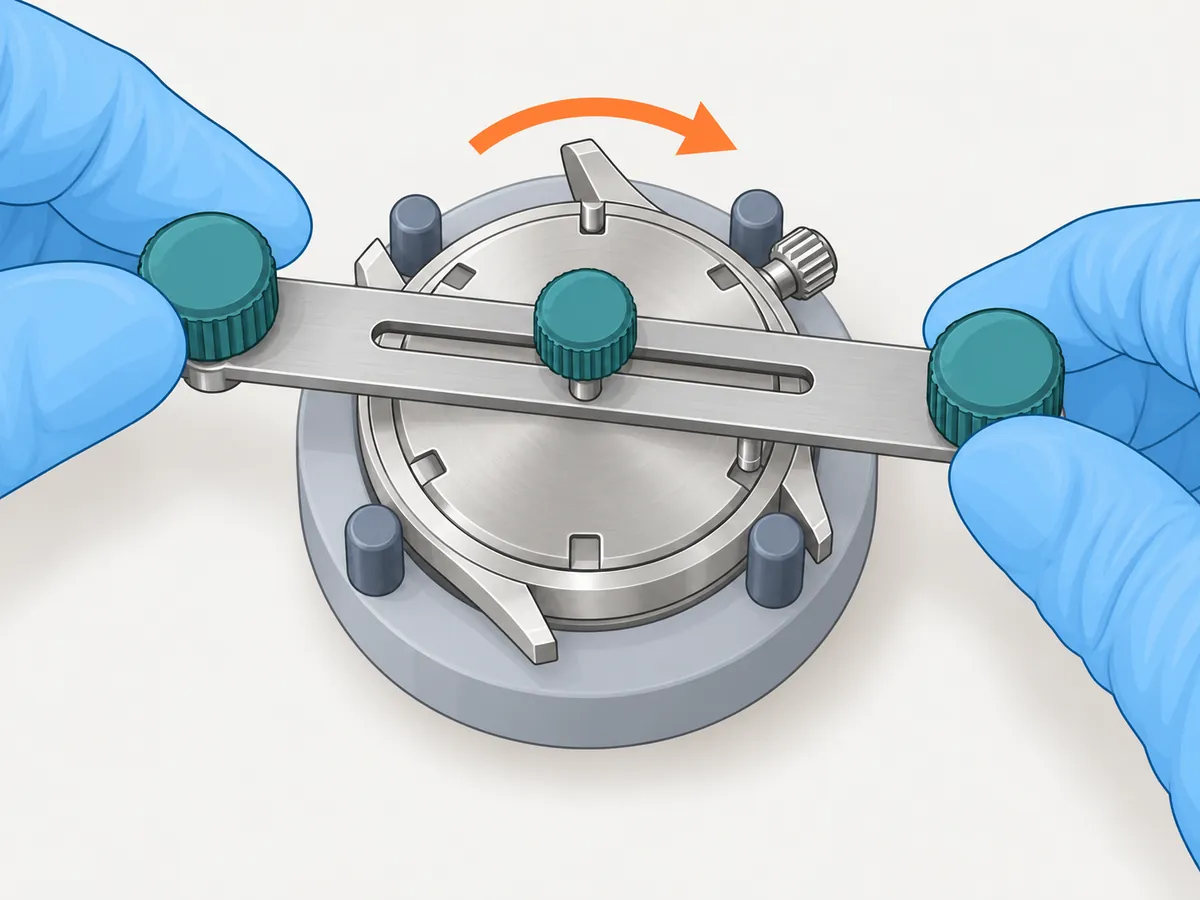
Set the wrench's three pins to fit three of the caseback's notches, evenly spaced. Put the pins in, keep the wrench flat and level on the caseback, and press down gently so the pins stay in the notches. Turn clockwise with steady pressure. When the caseback stops turning easily and you feel the gasket firm up, stop, or give it only a small extra nudge. There's no published torque figure for mod cases, so go by feel. Never lean on the wrench. Overtightening crushes the gasket, which then can't seal, and it can strip the thread.
Step 7: Close a press-on back with the press (press-on backs only)
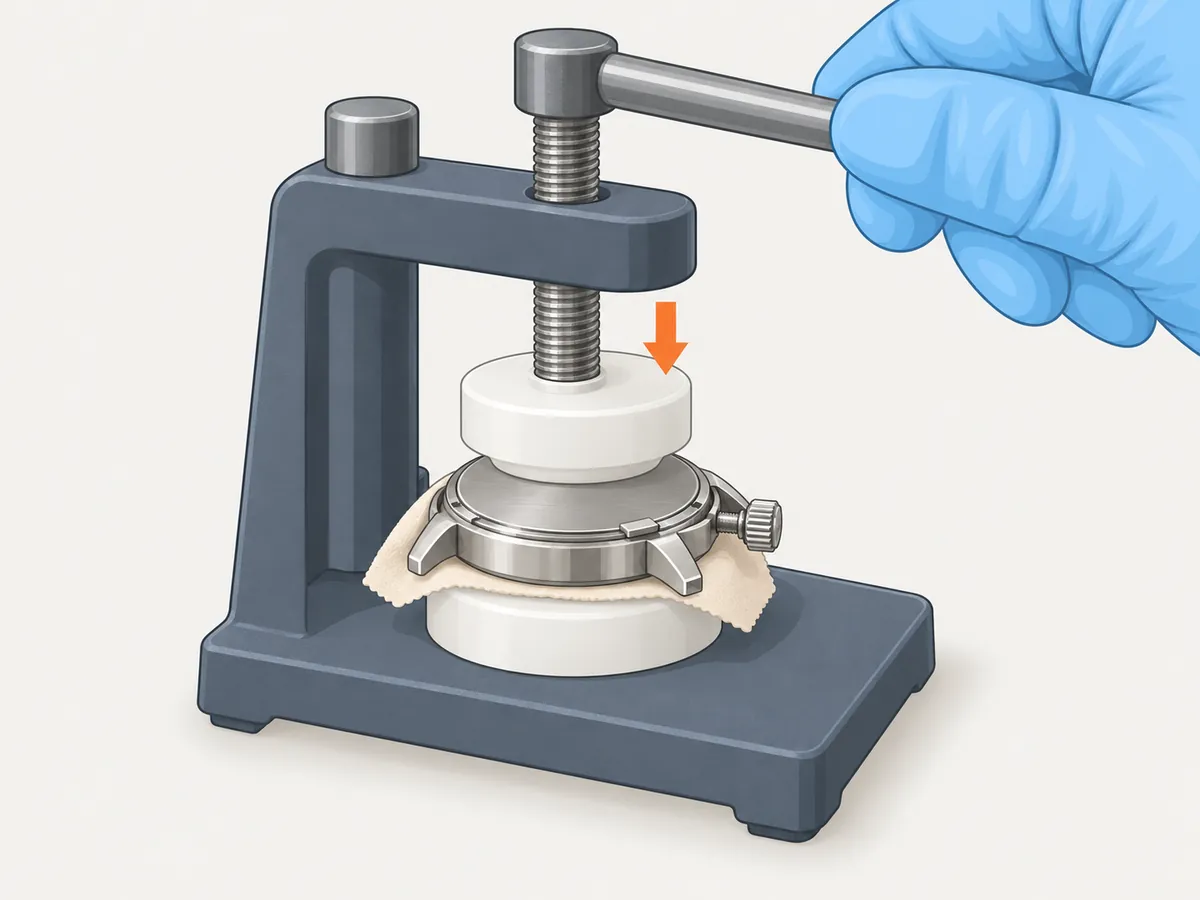
Find the notch or tab on the caseback's edge, and line the caseback up so it sits over the stem and crown tube the way it came off. A misaligned back can press on the stem and damage the movement. Choose the bottom die for the crystal side: it must sit outside the crystal, on the bezel, without pressing on the crystal, the crown tube or the lugs. Put a soft cloth between the die and the bezel. Choose a cupped top die that sits on the caseback without touching the lugs. Put the case crystal-down between the dies, then lower the press slowly until you hear the back snap in. Release the press straight away. A crack instead of a snap means something was pressing on the crystal. To open a press-on back later, slide the case knife under the tab and lever it gently, keeping the blade pointed away from your hand.
Step 8: Check that everything still works
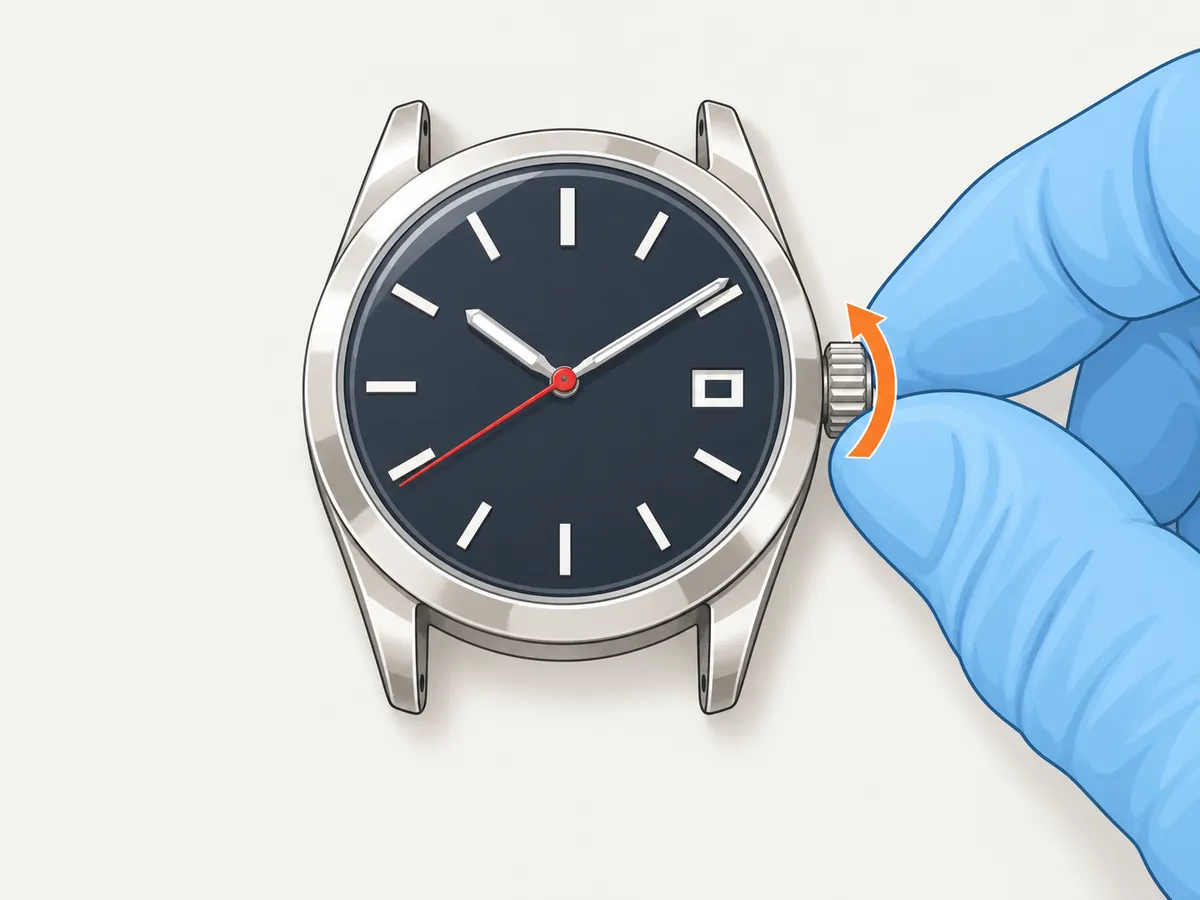
Take the watch out of the holder. Wind it, set the time and date, and let it run. Hold it to your ear and turn it over gently. You should hear the rotor spin freely, with no scraping. If the rotor scrapes, the movement may not be seated or the ring may be wrong, so open it and check. Check the caseback sits evenly all the way round, with no gap on one side. On a screw-down crown, screw it down every time you finish setting the watch. An unscrewed crown has no seal.
Step 9: Know what you can and can't check about water resistance
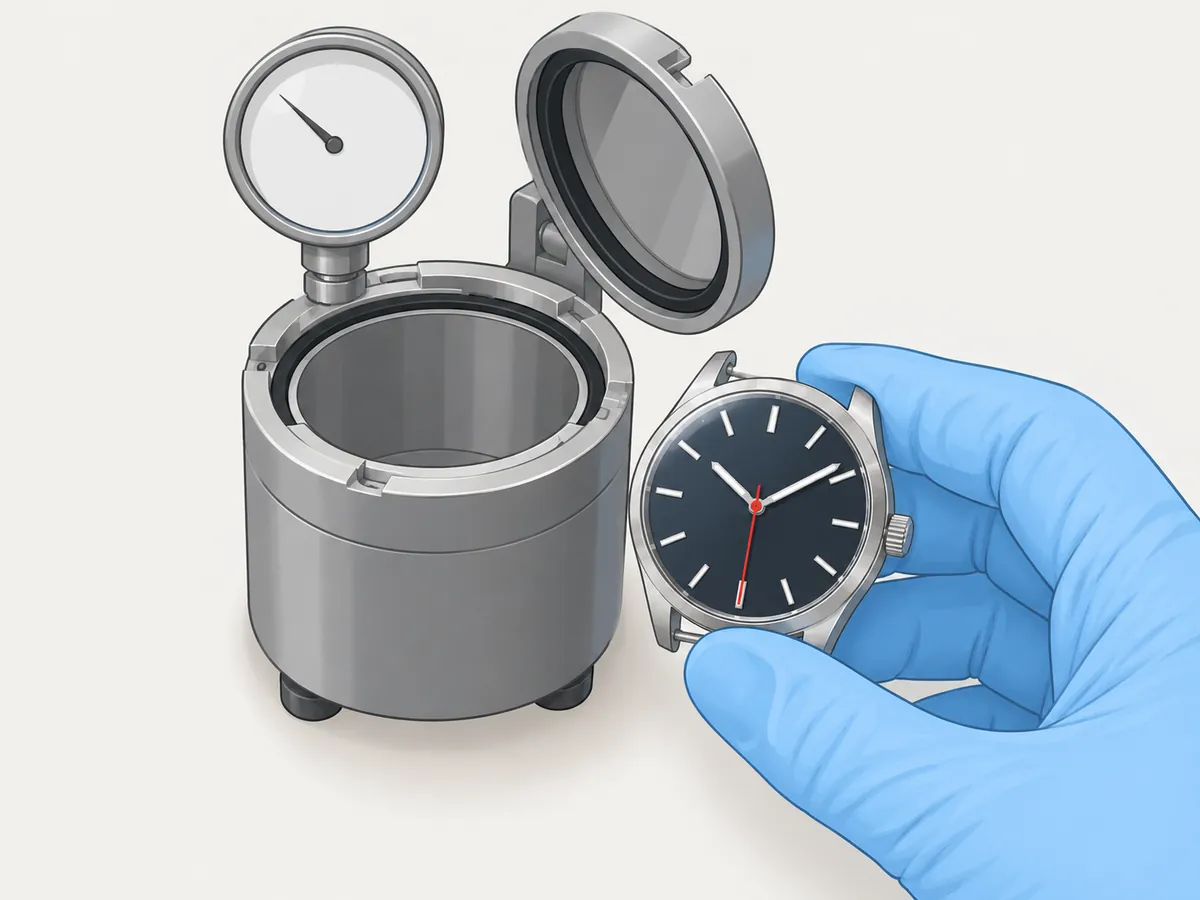
What you can check at home:
- Every gasket you touched was in good condition, greased lightly and seated flat.
- The caseback sits evenly and was tightened without forcing.
- The crown is pushed in, and screwed down if it's a screw-down crown.
- After a day of wear, look for fogging on the inside of the crystal. Fogging means moisture is inside, and the watch needs opening and drying.
What you can't check at home:
- Whether it's actually water resistant. The number on the case or the listing describes the case as designed, not your build. Once a case has been opened and reassembled, Seiko and modding suppliers both say the only way to know is to test it. Seiko recommends testing every time a case has been opened.
- Dunking it isn't a test. Putting a watch in water to see if it leaks proves nothing, and if it does leak you've wet the movement.
So, plainly: treat your watch as not water resistant until it has passed a pressure test. Until then it's fine for rain and hand-washing, not for swimming, showers or baths. Many watchmakers will pressure-test a watch for a small fee, and NoMods quotes about $10–20. Ask for a test to the depth your case is rated for. Cheap home testers exist, but a shop test is the safer first choice.
Common mistakes
Reusing a tired gasket. Gaskets age and take a set. If it isn't soft and round, replace it. It costs very little.
A twisted or pinched gasket. One fold means no seal. Run a fingertip round it before closing.
Too much grease, or the wrong grease. Use a thin film of silicone grease only. Petroleum products attack rubber.
Cross-threading the back. Always turn anticlockwise to find the thread start, then screw it on by hand before you use the wrench.
A wrench that slips. Use a case holder, keep the wrench level and press the pins into the notches. A slipping wrench scratches the caseback and can gouge the case.
Overtightening. A crushed gasket can't seal, and a stripped thread is the end of the case. Firm, not forced.
Pressing a press-on back without the right dies. A die on the crystal can crack it. A back that's out of line can press on the stem.
Assuming the case rating still applies. It describes how the case was designed, not your build. Only a pressure test tells you.
Check before wearing
- The watch runs, winds and sets normally, and the rotor spins without scraping.
- The caseback sits evenly all round, and the crown is in (and screwed down, if it's a screw-down crown).
- No dust or fibres visible under the crystal.
- You've decided where it can go: rain and hand-washing only, until it passes a pressure test.
Plan a watch around an NH35
Pick a case, dial, hands and strap for the movement, see which parts likely won't fit and preview the finished watch before you buy anything.
Sources
- Seiko Netherlands, Support FAQ. Test water resistance every two to three years and whenever the case has been opened; dry, dry-then-wet and wet test methods; gaskets, a screw-down back and a screw-down crown together provide water resistance.
- Seiko Singapore, Customer service FAQ: care and maintenance. "Water resistance of the watch is not permanently guaranteed. It is affected by the ageing of gaskets."
- Seiko, 8L45 instruction manual: gasket replacement at overhaul
- Seiko, 8L45 instruction manual: screw-down crown. Turn clockwise while pressing in until it stops.
- Wikipedia, Water Resistant mark. ISO 6425 tests every divers' watch at 125% of rated pressure, plus a condensation test; ratings reflect static tests on new watches and degrade with seal age.
- WorldTempus, Water resistance: publication of standard ISO 22810. The manufacturer sets the tests and sampling plans.
- Lucius Atelier, How to waterproof a Seiko mod. Gasket inspection, a dot of grease the size of a grain of rice, finding the thread start, finger-tight not wrench-tight, the rating is void after modding.
- Lucius Atelier, Seiko Modding: The Complete Build Guide. "Don't overtighten — the gasket seals, not the torque."
- Rotate Watches, How to waterproof a watch. "Petroleum products dissolve rubber gaskets"; replace gaskets showing compression loss, cracking or hardening.
- NoMods, How to build your first Seiko mod. Treat an untested watch as safe for hand-washing and rain, not the pool; a local watchmaker can pressure-test for $10–20.
- Esslinger, Compare screw-off case back openers. A three-point grip slips less; friction balls.
- Esslinger, How to open a screw-down case back with a Jaxa wrench. Grip the case in a holder; match the notches.
- Esslinger, How to close a snap-off watch case back with a watch press. Align the notch over the stem; the crystal-side die sits on the bezel, clear of the crystal, crown tube and lugs; release when it snaps.
- Esslinger, How to open a snap-off case back with a case knife
- Esslinger, Waterproof flat black watch case back gaskets. Measure the groove's inside and outside diameters.
- Esslinger, Crystal press and case back press with nylon dies
- WatchGecko, What is water resistance?. The condensation test.
- Argos Watch, Understanding pressure testing. Dry vs wet testers.